Graphics Reference
In-Depth Information
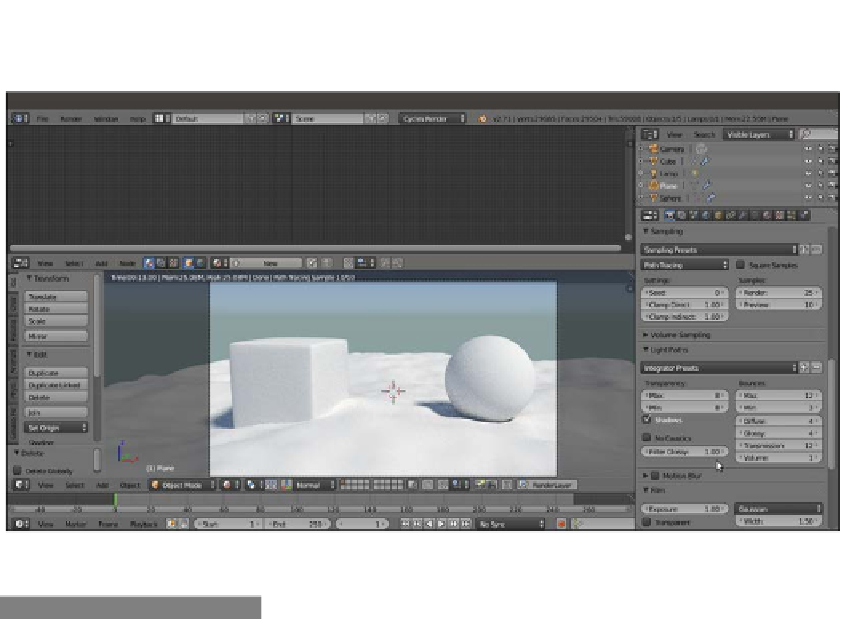
18. Set the Render samples to
25
. The Rendered preview is shown in the following
screenshot for your reference:
The prepared scene as it appears in the Rendered preview, with the rendering settings to the right
How to do it...
We have prepared the scene. Now let's start with the creation of the sand material using the
following steps:
1.
Select the Plane and click on the New button in the Material window under the
Properties panel or in the Node Editor toolbar. Rename the material
Sand_01
.
2.
Keeping the
Shift
key pressed, select the UV Sphere, the Cube, and for last one, the
Plane (that is the active object of the multi-selection) by right-clicking on them. Press
Ctrl
+
L
, and in the Make Links pop-up menu, select the Material item to assign the
same material to the other two objects. The
Sand_01
material is now assigned to all
three objects.
3.
In the Material window under the Properties panel to the right, switch the Diffuse
BSDF shader with a Mix Shader node. In both the Shader slots, assign a Diffuse
BSDF shader.
4.
In the Node Editor, add an RGB node (press
Shift
+
A
and navigate to Input | RGB)
and an RGB Curves node (press
Shift
+
A
and navigate to Color | RGB Curves).
Connect the output of the RGB node to the Color input socket of the first Diffuse
BSDF shader and to the Color input socket of the RGB Curves node. Then connect
the output of the RGB Curves node to the Color input socket of the second Diffuse
BSDF shader node.