Graphics Programs Reference
In-Depth Information
1.
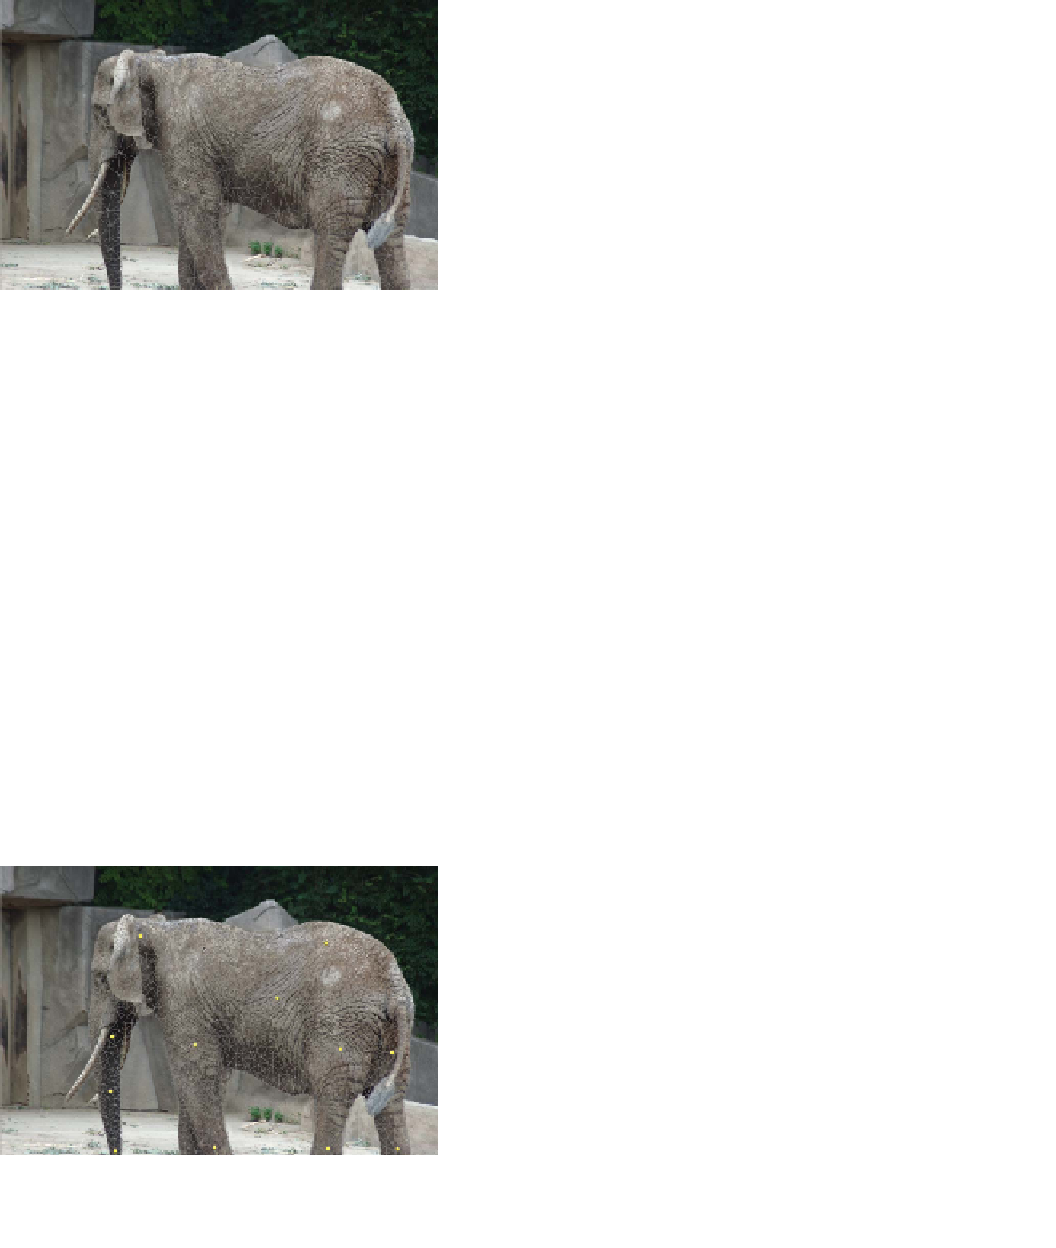
From the Chapter 4 folder, open the image
Ch04_Puppet.psd.
This image has already been masked to iso-
late the elephant to its own layer; you'll learn
more about masking in Chapter 7, “Layer
Masking.” The background has also been
filled in using the Content-Aware fill com-
mand, which you'll learn about in Chapter 11,
“Repairing and Improving Photos.”
2.
Select the layer named Elephant.
3.
Choose Edit > Puppet Warp. Photoshop draws a polygonal
mesh to allow the object to be distorted.
4.
In the Options bar, adjust the mesh settings to create a
refined mesh:
Mode. Photoshop offers three levels of elasticity for the mesh.
Normal is fine for this image.
Density. Choose More Points to increase the precision of the
warp (it will take more computer processing time).
expansion. If needed, you can contract or expand the mesh.
The default value is usually best.
Show Mesh. At times you may want to deselect this to see the
image without the visible mesh applied.
5.
Click on the image to add control pins. Add
pins to areas you want to transform as well as
points you want to anchor in place.
Use the figure for guidance. Add pins to the
trunk and in a few places on the elephant's
body. Add additional points as needed as you
manipulate the figure.


