Graphics Programs Reference
In-Depth Information
2.
Duplicate the
Background
layer by pressing Command+J
(Ctrl+J).
3.
Select the top layer and choose Image > Adjustments >
Desaturate.
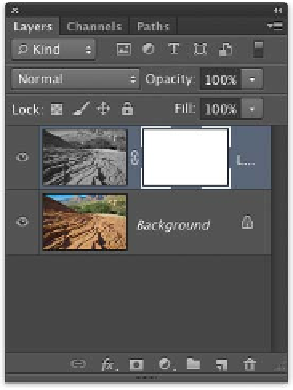
4.
With the topmost layer active, click the Add layer mask button
at the bottom of the Layers panel (it looks like a rectangle with
a circle inside). A new, empty Layer Mask is added to the layer.
5.
Press G to select the Gradient tool.
6.
Press D to load the default colors of black and white.
7.
From the Options bar, choose the black-to-white gradient. If
it's not available, choose Reset Gradients from the Gradient
Picker's submenu.
8.
With the Layer Mask selected, click and drag
to create a new linear gradient going from
top to bottom in the document window.
9.
The new Layer Mask creates a gradual blend
from the grayscale version to the colored
version.
This technique of adding a mask can also be
used on one layer to create a gradual fade to
transparency or to a different layer stacked
beneath.
The gradient mask allows the image to blend between the
grayscale and color image.
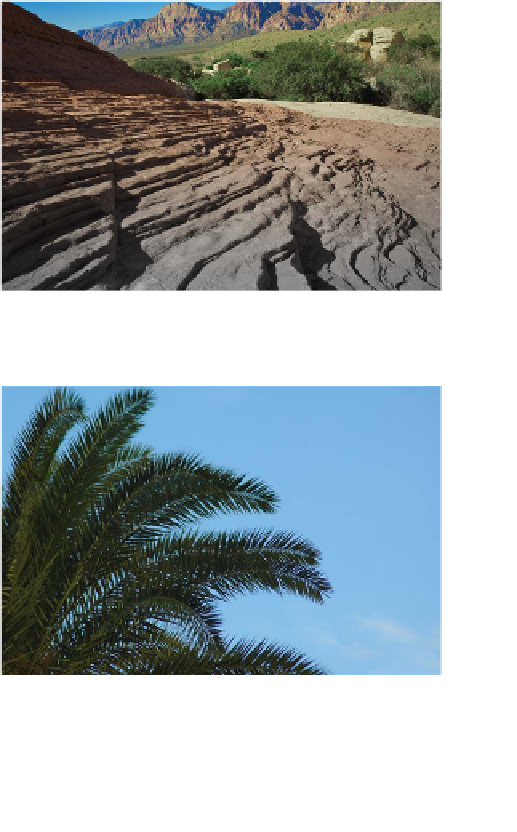
Using a Channel
Often, a channel will get you very close to
a perfect Layer Mask. This technique works
particularly well when the subject is against a
high-contrast background (such as a sky or a
wall), and it works very well with fine details like
hair. The image can be masked so it is ready for
integration into a composite image. For example,
a masked image could be used to add a palm tree
to another photo. Let's give it a try.
1.
Open the file Ch07_Channel_Mask.tif from
the Chapter 7 folder.