Image Processing Reference
In-Depth Information
60
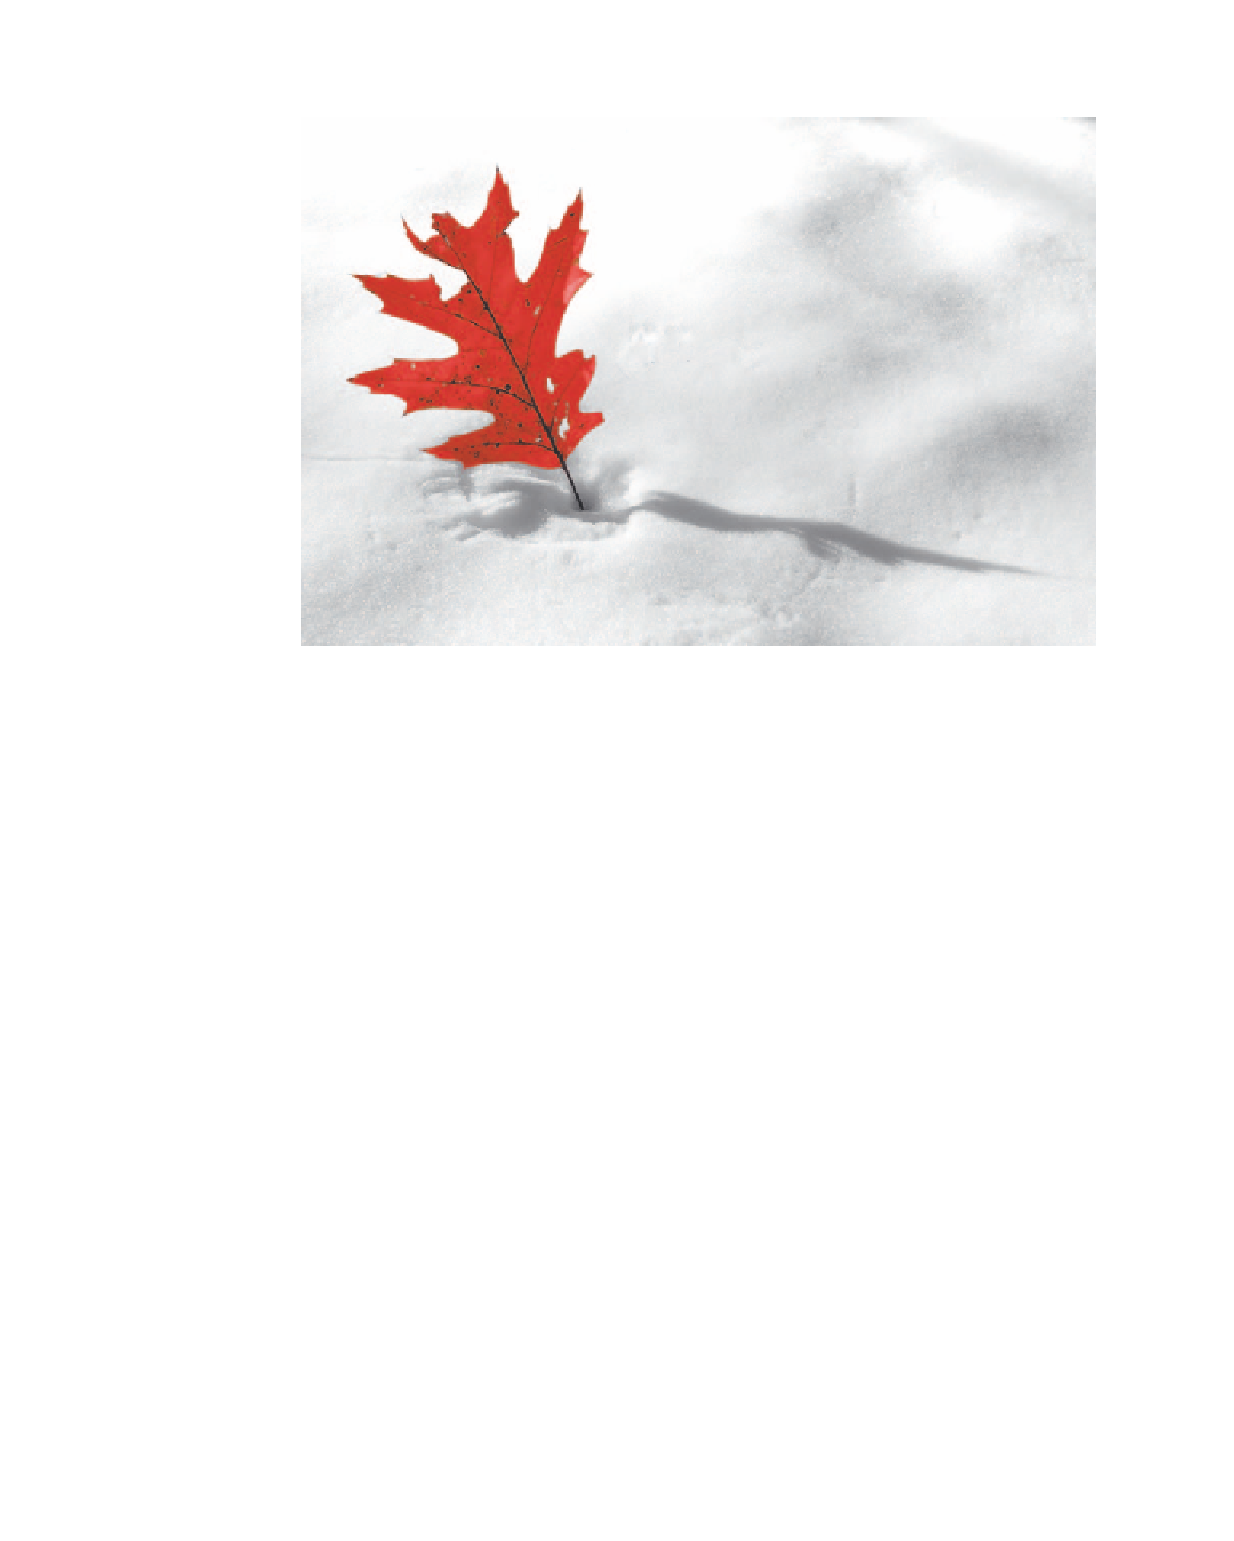
Figure 3.16
Some cropping, cloning, and a bit of creative leaf coloring has resulted in a much better image than the one I took
originally.
Using the Shadows Control
The Shadows slider is similar to the slider in the Levels command that is used to set the
black point. The control works by stretching the shadow values in your image. By mov-
ing the slider to the right, the number of pixels that are mapped to black increases,
which can also give the appearance of increased contrast. Although the control ranges
from 0 to 100, typical settings for the Shadows slider will be low—often less than 10.
As with the Exposure control, the best method of using the Shadows control is by
checking the clipping checkbox for obvious telltale signs of loss of detail in the shad-
ows. To prevent more data from being clipped than you want, keep a close eye on the
left side of the histogram as you make your adjustments.
Fine-Tuning the Shadows
With the Shadows control, I prefer to leave a bit of extra space to allow for curves and
other adjustments after the conversion process. Figure 3.17 shows an image where
using the Auto checkbox sets Shadows to 8. The histogram for the image looks pretty
good, with image data contained within the boundaries of the histogram. You can see
from the preview that some of the black in the egret's legs is showing in blue, indicating
that shadow detail is being clipped.
Search WWH ::

Custom Search