Graphics Programs Reference
In-Depth Information
There's a distinct advantage to cropping your photo here in Camera Raw, rather
than in Photoshop CS6 itself, and that is you can return to Camera Raw later and
bring back the uncropped version of the image. This even holds true for JPEG and
TIFF photos, as long as you haven't overwritten the original JPEG or TIFF file.
To avoid over writing, when you save the JPEG or TIFF in Photoshop, jus t change
the filename (that way the original stays intact). With RAW images, you don't have
to worry about that, because it doesn't let you overwrite the original.
Straightening
Step One:
The Crop tool
(C)
is the sixth tool from
the left in the toolbar. By default, you
click-and-drag it out around the area
you want to keep, and like in Photoshop,
you have access to a list of preset crop-
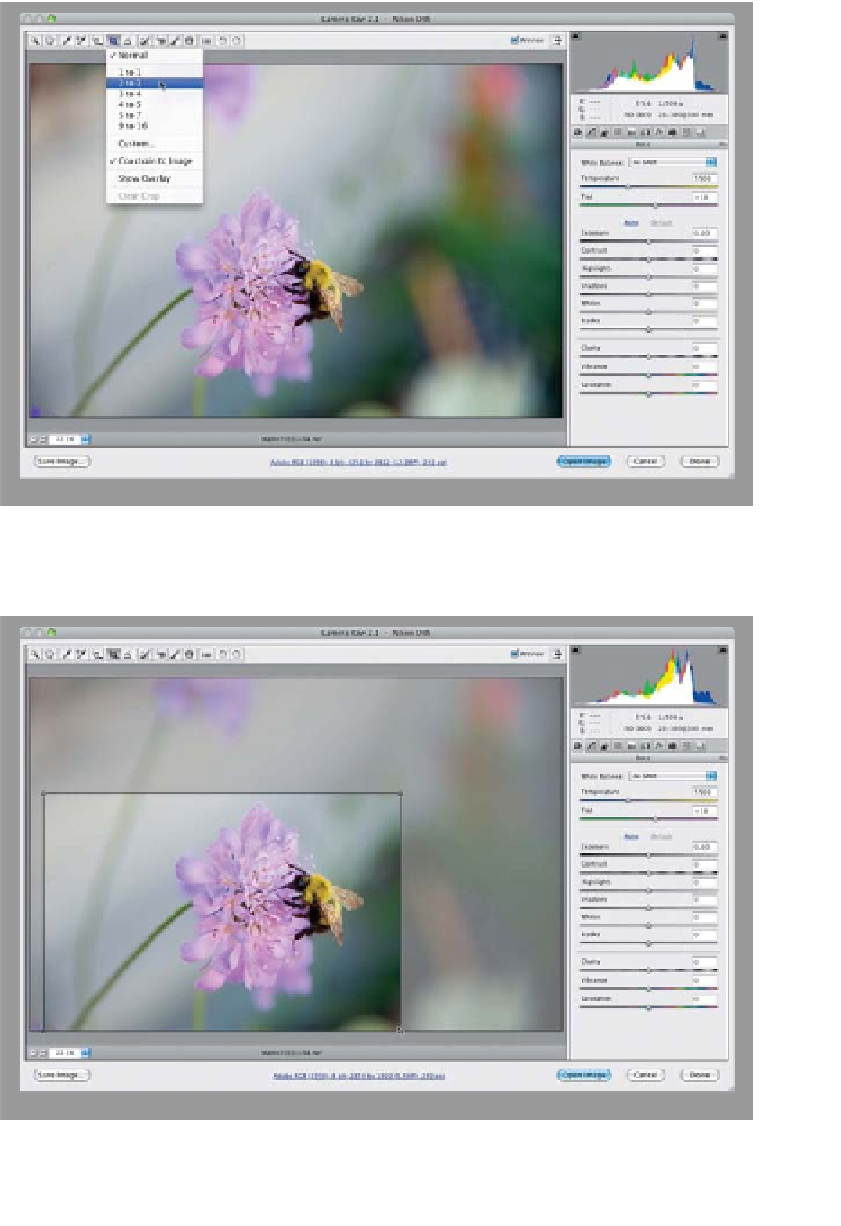
ping ratios. To get them, click-and-hold
on the Crop tool and a pop-up menu
will appear (as shown here). The Normal
setting gives you the standard drag-it-
where-you-want-it cropping. However, if
you choose one of the cropping presets,
then your cropping is constrained to a
specific ratio. For example, choose the
2 to 3 ratio, click-and-drag it out, and
you'll see that it keeps the same aspect
ratio as your original uncropped photo.
Step Two:
Here's the 2-to-3-ratio cropping border
dragged out over my image. The area to
be cropped away appears dimmed, and
the clear area inside the border is how
your final cropped photo will appear.
If you want to see the cropped version
before you leave Camera Raw, just switch
to another tool in the toolbar. (
Note:
If
you draw a set size cropping border and
want to switch orientation, click on the
bottom-right corner and drag down and
to the left to switch from wide to tall,
or up and to the right to switch from
tall to wide.)