Graphics Programs Reference
In-Depth Information
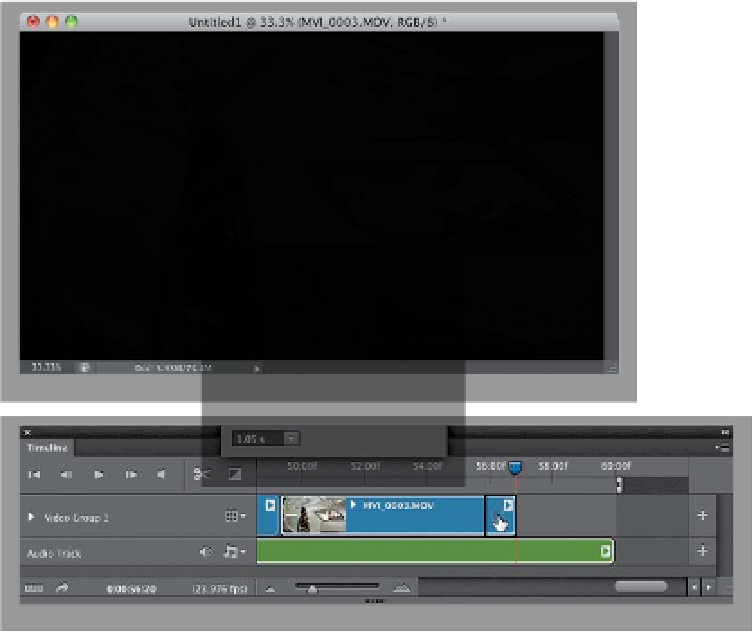
Step 11:
While we're at the end of the timeline
like this, let's go ahead and set a fade to
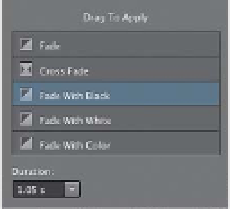
black for the end of our movie. Click on
the Transition icon, click on Fade with
Black, set the Duration, and then drag-
and-drop Fade with Black right onto
the end of your last video clip (as shown
here). Also, press the
Home key
on your
keyboard (or the Go to First Frame icon
at the top left of the Timeline panel) to
get back to the beginning of your movie,
then add a Fade with Black transition to
the beginning of your first video clip, so
when your movie starts, it fades in from
a solid black screen.
Step 12:
If you go ahead and hit Play at this point,
you'll see your video fade in from black,
you'll hear your background music, but
you'll also hear something else: any
audio your camera picked up when you
recorded your video clips. In some cases,
you might want to hear this, but in our
case, we only want to hear the back-
ground music (and not us calling out
cues to each other during the shoot). So,
let's turn off the audio that's in our clips.
We can't just click on that speaker icon
to the right of Audio Track (that's the
main on/off for audio), so what you'll do
is click on the little triangle at the end of
the video clip you want to affect and a
settings dialog pops up with video and
audio controls. Click on the music notes
icon to bring up the Audio settings, then
turn on the Mute Audio checkbox. Okay,
now do that for all your video clips.