Graphics Programs Reference
In-Depth Information
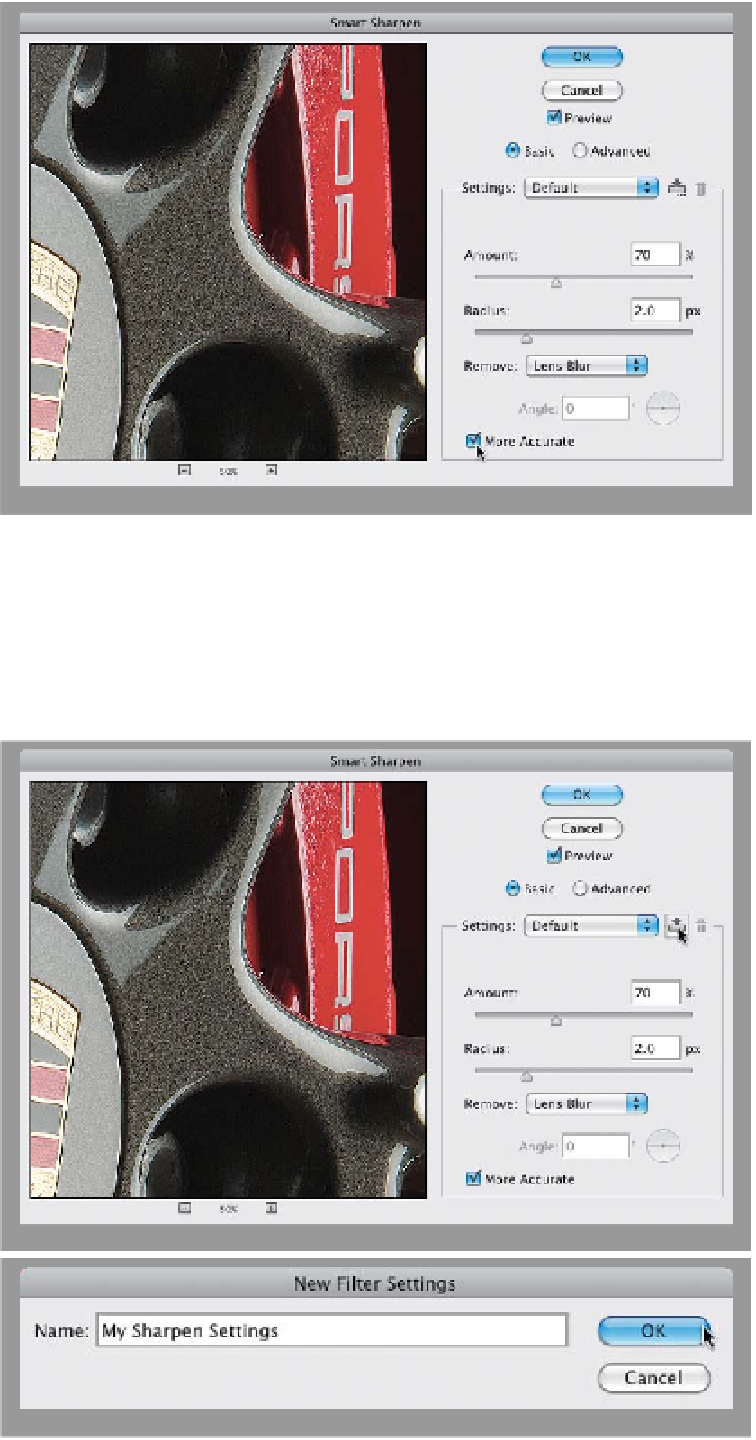
Step Three:
The only downside to choosing Lens
Blur is that it makes the filter take a little
longer to “do its thing.” (That's why it's
not the default choice, even though it
provides better-quality sharpening.)
After you choose Lens Blur, go to the
bottom of the dialog and you'll see a
checkbox for More Accurate. It gives
you (according to Adobe) more accurate
sharpening by applying multiple iterations
of the sharpening. I leave More Accurate
turned on all the time. (After all, who
wants “less accurate” sharpening?)
Note:
If you're working on a large file, the More
Accurate option can cause the filter to
process slower, so it's up to you if it's
worth the wait (I think it is). By the way,
the use of the More Accurate checkbox is
one of those topics that Photoshop users
debate back and forth in online forums.
For regular everyday sharpening it might
be overkill, but again, the reason I use
Smart Sharpen is because the photo is
visibly blurry, slightly out of focus, or
needs major sharpening to save. So
I leave this on all the time.
Step Four:
If you find yourself applying a setting
such as this over and over again, you
can save these settings and add them
to the Settings pop-up menu at the top
of the dialog by clicking on the icon to the
right of the pop-up menu. This brings up
a dialog for you to name your saved set-
tings, and then click OK. Now, the next
time you're in the Smart Sharpen filter
dialog and you want to instantly call up
your saved settings, just choose it from
the Settings pop-up menu.
(Continued)