Graphics Programs Reference
In-Depth Information
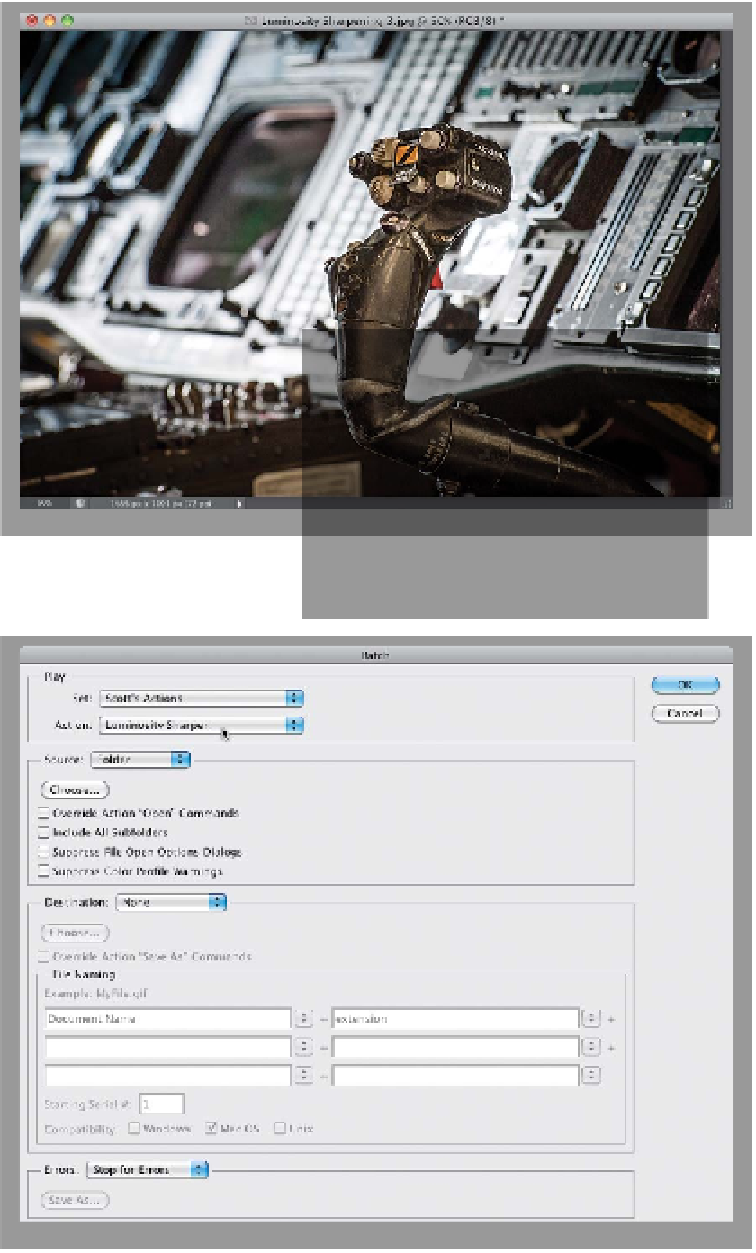
Step Nine:
Now, open a different RGB photo and
let's test your action to see that it works
(it's important to test it now before mov-
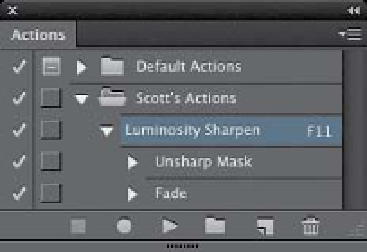
ing on to the next step). Press the F-key
you assigned to your action (you chose
F11, right? I knew it!) or click on the Play
Selection icon at the bottom of the
Actions panel. Photoshop immediately
applies the sharpening to the Luminosity
for you, and does it all faster than you
could ever do it manually, because it
takes place behind the scenes with
no dialogs popping up.
Step 10:
Now that you've tested your action,
we're going to put that baby to work.
Of course, you could open more photos
and then press F11 to have your action
Luminosity sharpen them one at a time,
but there's a better way. Once you've
written an action, you can apply that
action to an entire folder full of photos
and Photoshop will totally automate
the whole process for you (it will liter-
ally open every photo in the folder and
apply your Luminosity sharpening, and
then save and close every photo—all
automatically. How cool is that?). This is
called batch processing, and here's how
it works: Go under the File menu, under
Automate, and choose
Batch
to bring
up the Batch dialog (or you can select all
the images within a folder in Mini Bridge,
then Right-click on any one of those
thumbnails, and then under Photoshop,
choose Batch). At the top of the dialog,
within the Play section, choose your
Luminosity Sharpen action from the
Action pop-up menu (if it's not already
selected, as shown here).
(Continued)