Graphics Programs Reference
In-Depth Information
Photoshop definitely has some overlap with the included Camera Raw 7
that comes with CS6 (and is part of Photoshop), in that you can do a lot of the
same things in Photoshop that you can do in Camera Raw. If you shoot in RAW
mode on your camera, you're better off doing things like lens corrections right
within Camera Raw (see Chapter 3), because it's faster and does less harm to
your pixels. However, if for whatever reason, you don't want to use Camera Raw's
Lens Corrections panel (it works for JPEGs and TIFFs, too. Hint, hint), then
you can use the Lens Correction filter in CS6.
Step One:
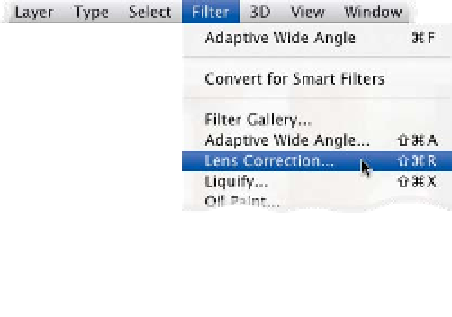
Here's a problem image. Look at the
columns on either side, which are bow-
ing outward. Luckily, we've got a filter for
that. Go under the Filter menu and, right
near the top, choose
Lens Correction
.
Step Two:
When the Lens Correction dialog opens,
you'll see two tabs in the top right: Auto
Correction and Custom (Custom means
“do -it-your s elf ”). I always tr y Auto Cor rec-
tion first, because if it can find a profile
for your lens in its database of lenses, it
will pretty much fix the problem for you
instantly (it looks at the embedded lens
data in your image, then searches its inter-
nal database for a built-in profile based on
your camera make and model, and lens
type). In the Auto Correction tab, turn on
the Geometric Distortion checkbox and,
as you can see here, it found a lens profile
for my lens and did a pretty darn good
job of removing that bowing from the
columns. If you're seeing any lens vignet-
ting (darkening of the corners in your
image), then also turn on the Vignette
checkbox and it will fix that at the same
time automatically.