Graphics Programs Reference
In-Depth Information
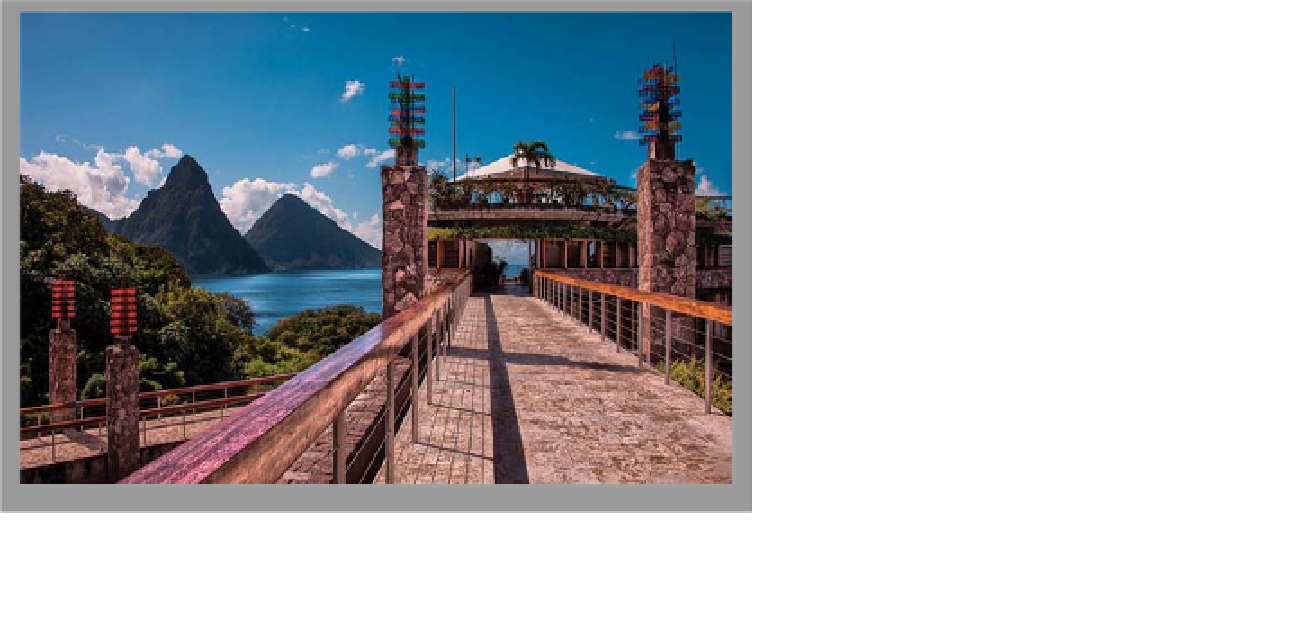
Step 11:
Here's a tip that really makes all of this
work together pretty seamlessly: There
will be areas in your image, like the glass
ornaments on top of the columns, where
it would be really tedious and tricky to
paint over them without really affecting
the sky. In those cases (and I do this in
almost every image), you want to blend
“some” of the HDR image here, but not
the full strength. So, go up to the Options
Bar and lower the Opacity of the Brush
tool to 50%. Now when you paint in white,
it only paints in the HDR image at half-
strength, so bringing out these glass
ornaments is much easier, because you
don't have to mask it perfectly.
Step 12:
Now that you're at 50%, you can bring
out other parts of the image without them
looking “over-the-top.” For example, here
I painted at 50% over the trees on the
left side to bring out some of that detail.
I painted over the sidewalk, as well, to
bring out half the HDR in it. But, I avoided
that shadow of the railing, because once
I painted over it, it got a funky-looking
edge, so I just pressed
Command-Z (PC:
Ctrl-Z)
to undo my painting, and then re-
painted the sidewalk while avoiding that
shadow. I painted over the other walkway
on the left, too, but when I painted over
the red glass ornaments, it looked weird,
so I used Undo, and painted those col-
umns again, but not the red glass. When
you're done, choose
Flatten Image
from
the Layers panel's flyout menu. Then,
finally, get the Spot Healing Brush
(J)
and click once on each of those sensor
dust spots in the sky to remove them,
giving you the image seen here.
(Continued)