Graphics Programs Reference
In-Depth Information
A more refi ned method of altering a shape is by extrusion. Select the vertices as in
Figure 3.24 and press the E key while in edit mode. Th e selected vertices are duplicated
and by default placed into grab mode, ready to be moved. Also by default, the movement
is confi ned to a line normal to a plane defi ned by the selected vertices. Th is line displays on
the screen. Moving the mouse moves the vertices along the line. If you want to freely move
the vertices, click the middle mouse button (MMB) and then move the mouse—the MMB
might be a scroll wheel, but it should also be clickable. Th e vertices will follow wherever
you go. You can constrain the extrusion to the
x-
,
y-
, or
z
-axis of the scene by pressing the
E key + X, Y, or Z. Clicking the LMB when you have fi nished moving releases the vertices
from grab mode, but they remain selected. You can now rotate and scale them; but, in this
case, the rotation and scaling takes place about the midpoint of the selected vertex group.
Figure 3.24 is an example of a cube, extruded from the right side several times using
scale and rotate. “Basic Extrude” is a great command for making long tubes and tunnels. It
is also good when you don't want to subdivide an object too much in order to add detail.
3.19 Proportional Vertex Editing
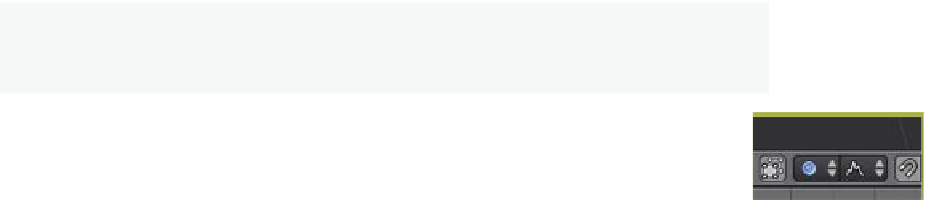
Proportional vertex editing is used to create a fl ow in the shape when editing vertices. To
turn proportional vertex editing on, press the O key while in edit mode or by selecting the
small circle button on the toolbar (Figure 3.25).
Learning
Unit 8
Proportional
Editing
Note:
You will only be able to select this option while in edit mode.
Figure 3.25
You have several options for aff ecting vertices in proportional editing.
I usually use sharp or smooth fall off , but feel free to experiment with the
other options.
3.20 Creating Ground
You can use proportional vertex editing to create a landscape easily (Fig-
ure 3.26). Th e fi rst thing you need to do is create a plane in the top view
(number pad 7). While in edit mode, make sure all vertices are selected
(the vertices should be orange)—you can use the A key to select them all. Press the W
key for specials menu, then select “Subdivide” or click subdivide in the tool shelf. Do
this a few times. Select a single vertex somewhere near the center. Next, switch to a front
view (number pad 1) and press the O key to enter proportional vertex editing mode.
Select sharp or smooth fall off depending on what eff ect you want. Press the G key to
grab (move) the vertex or drag the arrows on the manipulation widget. Use the scroll
mouse wheel to change the size of the proportional selection if you have used the G key.
Experiment with diff erent size selections and diff erent fall off s. To see your fi nal work in
a smooth display, exit edit mode (Tab key) and, with the object selected, go to the tool
shelf and fi nd the “Set Smooth” button. Th is will smooth the mesh in the display and fi nal
output.
Turn proportional
editing on/off.
Select the type of fall off.