Graphics Programs Reference
In-Depth Information
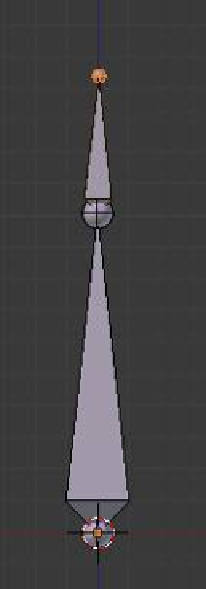
Figure 15.6
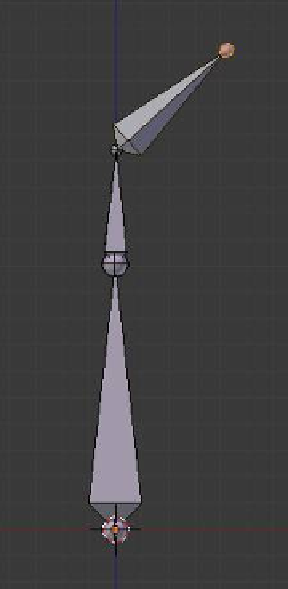
Figure 15.7
New bones extruded from the tip
New bone extruded from the base
15.5 Deforming a Mesh Object
So far, I have demonstrated the very basics of what an armature is and how to expand a
single bone into a multibone armature. It's time to see how to deform a mesh. To demon-
strate the armature principle in Blender, we will make something akin to a finger on your
hand and make it deform with an armature.
Start with the default Blender scene, delete the cube, and add a mesh circle. In the tool
shelf (the panel at the lower LHS of the 3D window), reduce the number of vertices from 32
to 8. When creating a mesh for use with armatures, use as few vertices as possible. A high
number of vertices will give you a better surface look and a better render, but too many
vertices will slow down the computer considerably in an animation.
Note:
When you add a primitive to a scene, it is in object mode and the tool panel at
the lower left of the screen provides the facility to edit the size and vertex count. Once
you tab to edit mode, the tool panel no longer has this feature.