Information Technology Reference
In-Depth Information
10.12
Disconnect the hard drive's interface cable.
10. Lift the hard drive out and remove it from the plastic bracket.
11. Remove the rubber bumper that surrounds the old drive.
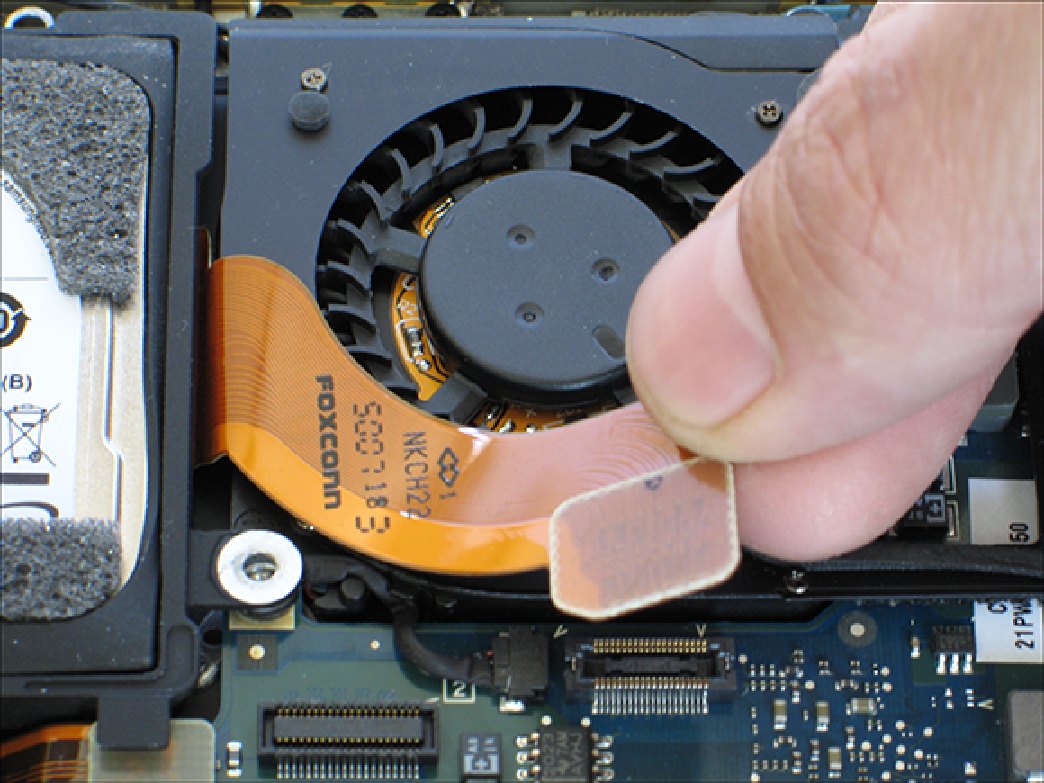
12. Remove the strip of black tape that helps keep the ZIF connector attached to the hard drive, and
then remove the ZIF connector.
13. Attach the ZIF connector to the new hard drive.
14. Place the rubber bumper around the new hard drive.
15. Place the new hard drive inside the plastic bracket.
16. Attach the motherboard connector on the other end of the hard drive's interface cable.
17. Attach the hard drive to the chassis using the four screws from Step 8.
18. Attach the connector for the cable that runs from MacBook Air's external ports.
19. Attach the bottom of MacBook Air's case using the ten screws from Step 5.
With your new hard drive in place, you must now reinstall OS X, as described in Chapter 11. Once you've done
that, you can get to your old system by restoring your most recent Time Machine backup.