Graphics Programs Reference
In-Depth Information
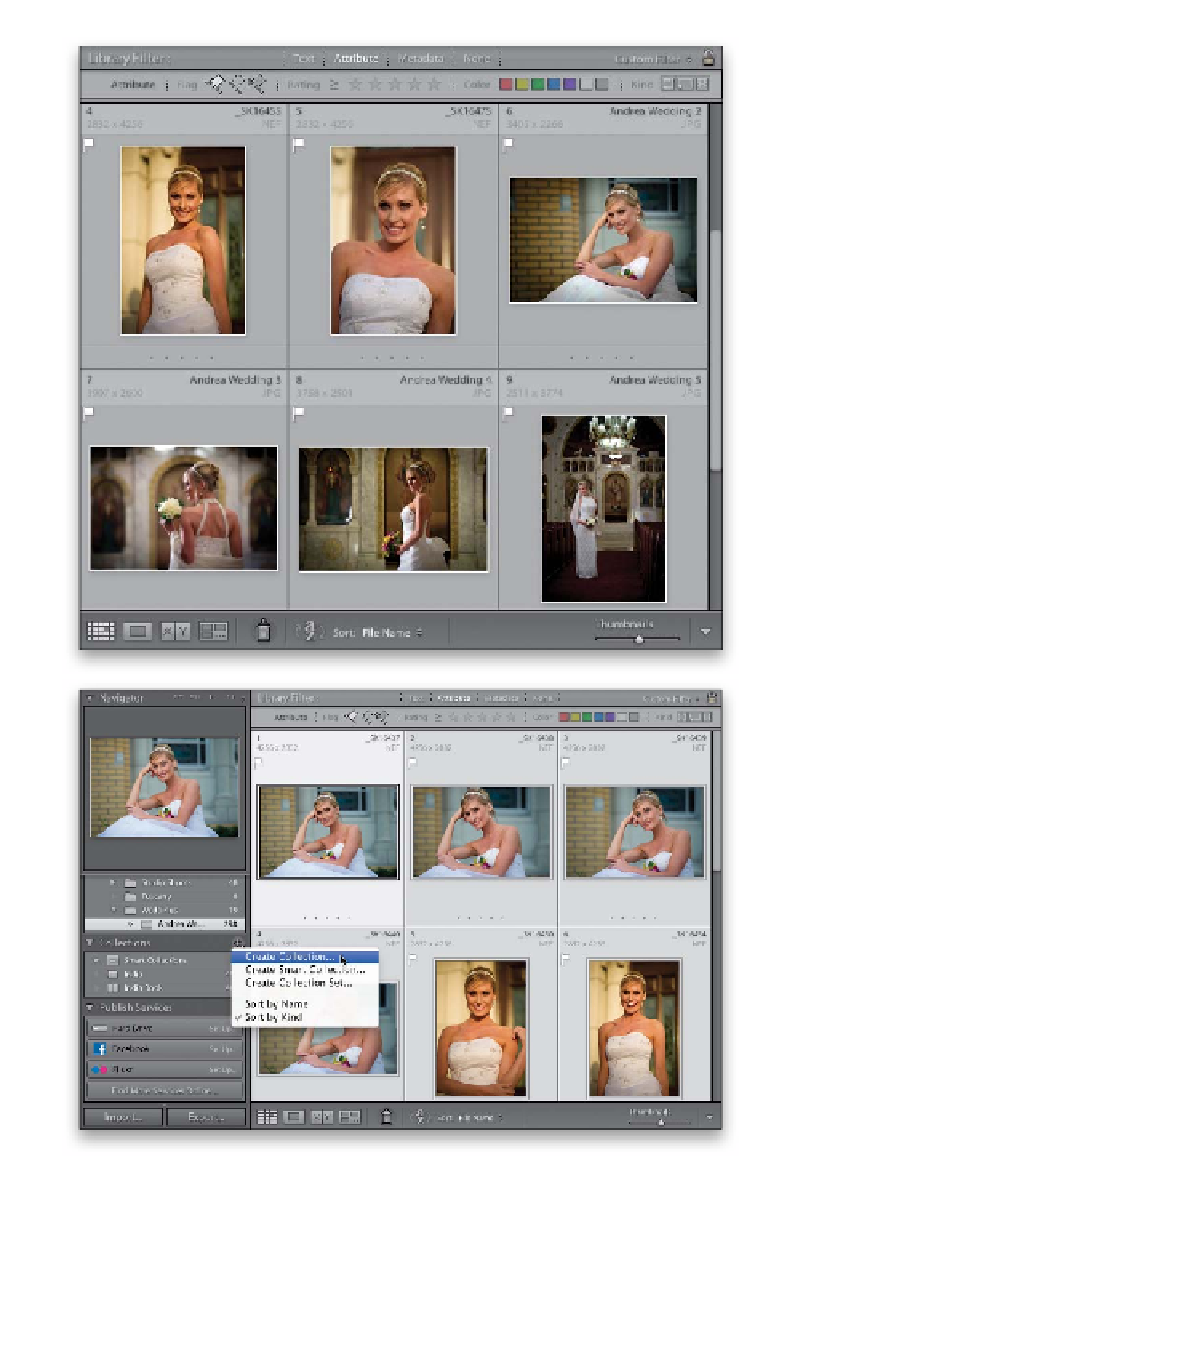
Step Six:
Now to see just your Picks, click on the
word
Attribute
up in the Library Filter
bar that appears at the top of the center
Preview area (if you don't see it, just press
the
\ [backslash] key
on your keyboard),
and a little Attribute bar pops down. Click
on the white Picks flag (shown circled here),
and now just your Picks are visible.
TIP: Use the Other Library Filter
You can also choose to see just your Pick s ,
Rejects, or your unflagged photos from
down on the top-right side of the Filmstrip.
There's a Library filter there too, but just
for attributes like flags and star ratings, and
some metadata.
Step Seven:
What I do next is put these Picks into a
collection. Collections are the key orga-
nizational tool we use, not just here in
the sorting phase, but throughout the
Lightroom workflow. You can think of a
collection as an album of your favorite
photos from a shoot, and once you put
your Picks into their own collection, you'll
always be just one click away from your
keepers from the shoot. To get your Picks
into a collection, press
Command-A (PC:
Ctrl-A)
to select all the currently visible
photos (your Picks), then go over to the
Collections panel (in the left side Panels
area), and click on the little + (plus sign)
button on the right side of the panel
header. A pop-up menu will appear,
and from this menu, choose
Create
Collection
(as shown here).
Continued