Graphics Programs Reference
In-Depth Information
Step Three:
The #1 complaint I hear from Lightroom
users about working with panels is they
hate the Auto Hide & Show feature (which
is on by default). The idea behind it sounds
great: if you've hidden a panel, and need it
visible again to make an adjustment, you
move your cursor over where the panel
used to be, and it pops out. When you're
done, you move your cursor away, and
it automatically tucks back out of sight.
Sounds great, right? The problem is one
pops out anytime you move your cursor
to the far right, left, top, or bottom of
your screen. It really drives them nuts, and
I've had people literally beg me to show
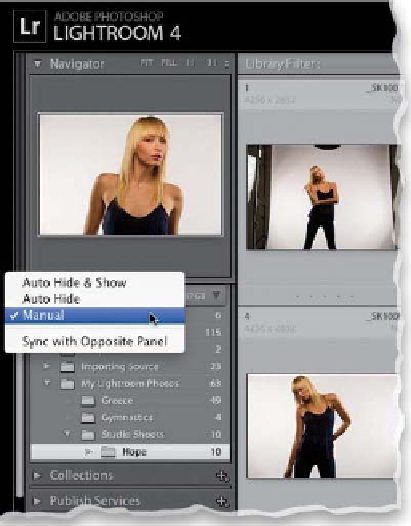
them how to turn it off. You can turn Auto
Hide & Show off by Right-clicking on the
little gray triangle for any panel. A pop-up
menu will appear (shown here) where you'll
choose
Manual
, which turns the feature off.
This works on a per-panel basis, so you'll
have to do it to each of the four panels.
Step Four:
I use the Manual mode, so I can just
open and close panels as I need them. You
can also use the keyboard shortcuts:
F5
closes/opens the top taskbar,
F6
hides the
Filmstrip,
F7
hides the left side Panels area,
and
F8
hides the right side (on a newer
Mac keyboard or a laptop, you may have
to press the Fn key with these). You can
hide both side Panels areas by pressing the
Tab key
, but the one shortcut I probably
use the most is
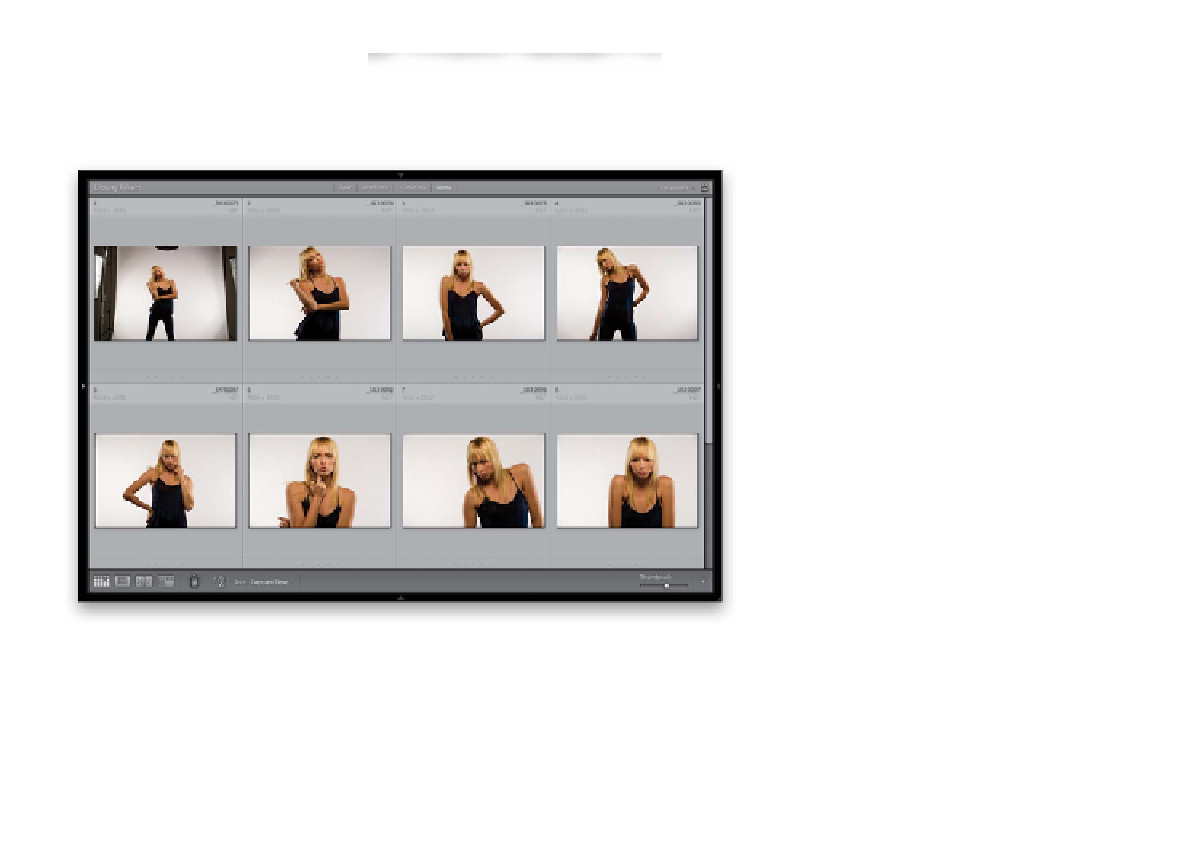
Shift-Tab
, because it hides
everything—all the panels—and leaves just
your photos visible (as shown here). Also,
here's an insight into what is found where:
the left side Panels area is used primarily
for applying presets and templates, and
showing you a preview of the photo, preset,
or template you're working with. Everything
else (all adjustments) is found on the
right side. Okay, on the next page: tips
on viewing.