Graphics Programs Reference
In-Depth Information
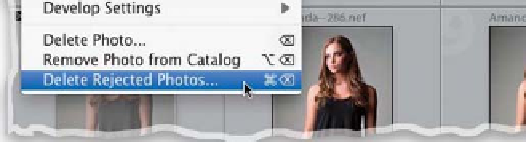
Step Three:
Once you've chosen your Picks and Rejects,
let's get rid of those Rejects for good by
choosing
Delete Rejected Photos
from
the Photo menu (as shown here). By the
way, although you can't see this too well
in this image, when you flag an image as a
Reject, its thumbnail actually dims to give
you another visual cue (besides the black
flag) that it's marked as a Reject (look
under the bottom of the menu here,
right under Delete Rejected Photos,
and you can see the thumbnail right
under it is dimmed).
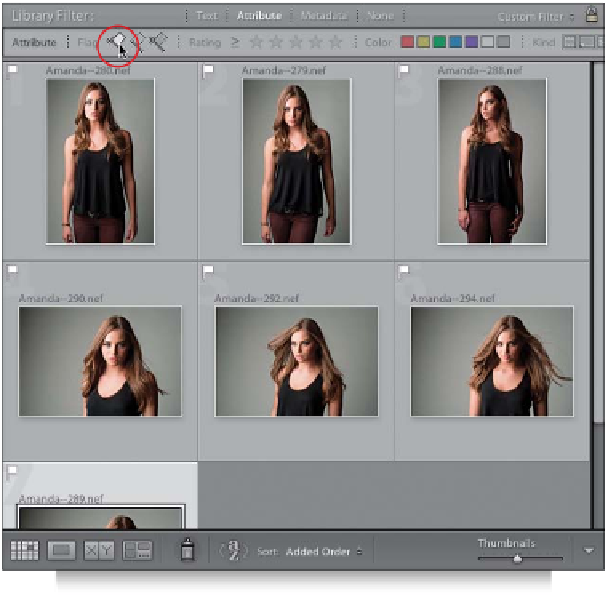
Step Four:
Now, let's turn on a filter that just shows
our Picks (after all, this is what this is all
about—separating our Picks from the rest
of the shoot). Go up to the Library Filter
above the Preview area, click on Attribute,
and then click on the white Picks flag to
filter your images so only the Picks are
showing.
Note:
If you don't see the Library
Filter bar at the top of your Preview area,
press the backslash key
(\)
on your key-
board to make it visible.
Continued