Graphics Programs Reference
In-Depth Information
Step Five:
The round button on the right side of the
Tethered Capture window is actually a
shutter button, and if you click on it, it'll
take a photo just as if you were pressing
the shutter button on the camera itself
(pretty slick). When you take a shot now, in
just a few moments, the image will appear
in Lightroom. The image doesn't appear
quite as fast in Lightroom as it does on
the back of the camera, because you're
transferring the entire file from the cam-
era to the computer over that USB cable (or
wireless transmitter, if you have one con-
nected to your camera), so it takes a second
or two. Also, if you shoot in JPEG mode, the
file sizes are much smaller, so your images
appear in Lightroom much faster than
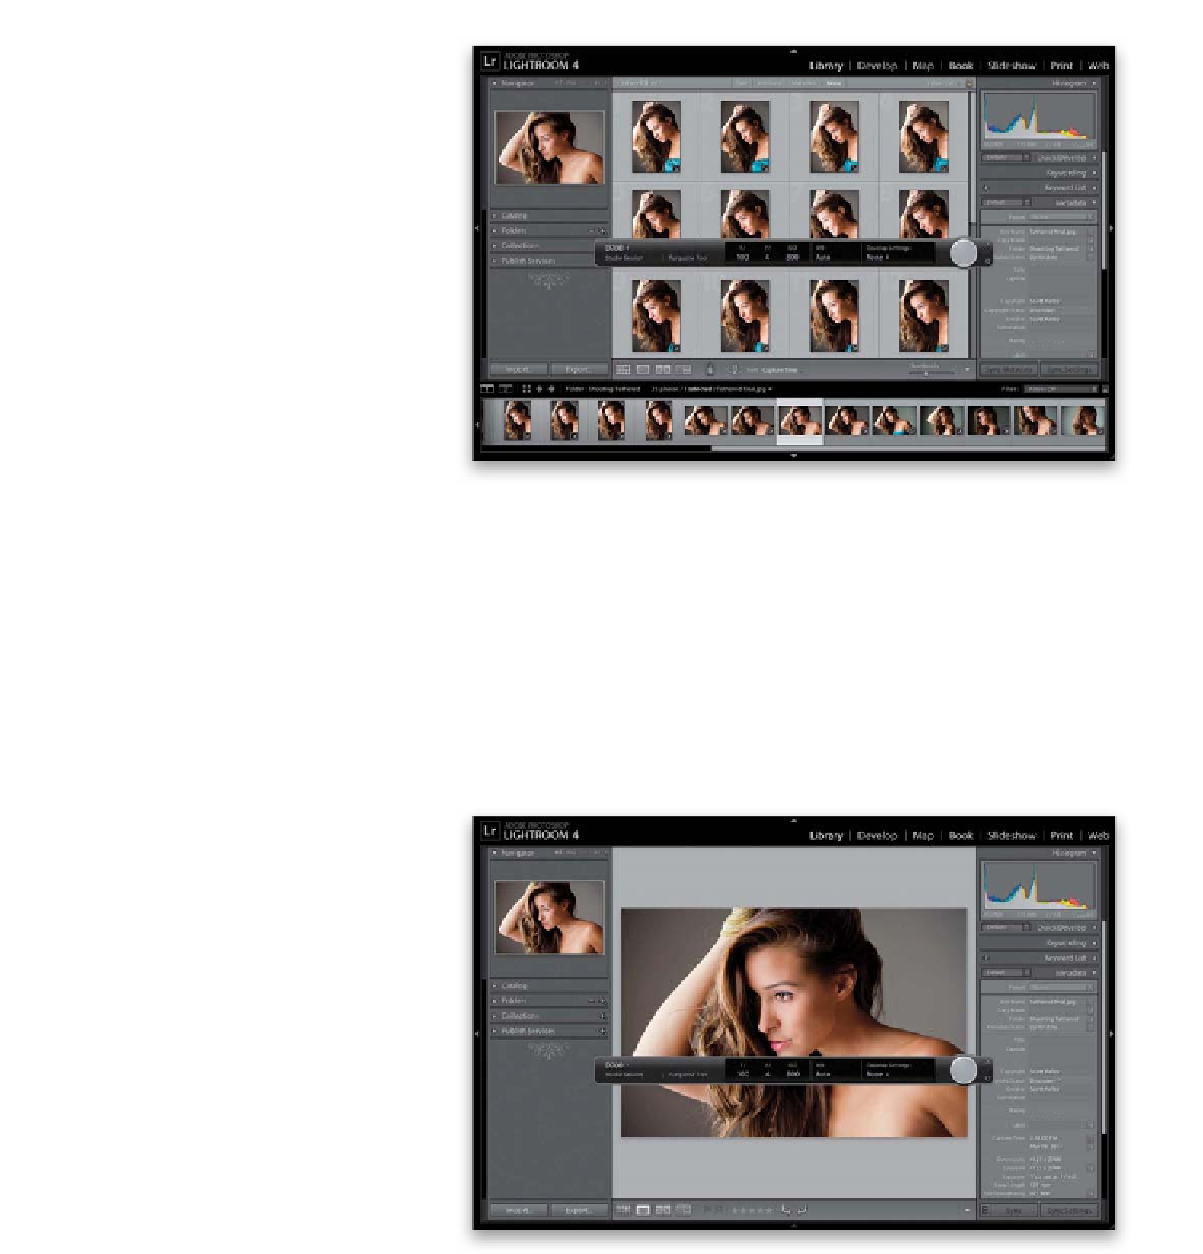
RAW images. Here's a set of images taken
during a tethered shoot. The problem is
if you view them in the Library module's
Grid view like this, they're not much bigger
than the LCD on the back of your camera.
Note:
Canon and Nikon react to tethering
differently. For example, if you shoot Canon,
and you have a memory card in the camera
while shooting tethered, it writes the images
to your hard drive and the memory card,
but Nikon's write only to your hard drive.
Step Six:
Of course, the big advantage of shooting
tethered is seeing your images really large
(you can check the lighting, focus, and
overall result much easier at these larger
sizes, and clients love it when you shoot
tethered when they're in the studio, be-
cause they can see how it's going without
looking over your shoulder and squinting
to see a tiny screen). So, double-click on any
of the images to jump up to Loupe view (as
shown here), where you get a much bigger
view as your images appear in Lightroom.
(
Note:
If you do want to shoot in Grid view,
and just make your thumbnails really big,
then you'll probably want to go to the tool-
bar and, to the left of Sort Order, click on
the A-Z button, so your most recent shot
always appears at the top of the grid.