Graphics Programs Reference
In-Depth Information
Step Seven:
Now let's put that Segment Photos By
Shot feature to use. Let's say you finish this
round of shots with your subject wearing
a turquoise top, and in the next set, your
subject will be wearing a black suit. Just
click directly on the word “Turquoise Top”
in the Tethered Capture window (or press
Command-Shift-T [PC: Ctrl-Shift-T]
) and
the Shot Name dialog appears. Give this
new set of shots a name (I named mine
“Black Suit”) and then go back to shooting.
Now these images will appear in their own
separate folders, but all within my main
Studio Session folder.
Step Eight:
When I'm shooting tethered (which
I always do when I'm in the studio, and
as often as I can on location), rather than
looking at the Library module's Loupe
view, I switch to the Develop module, so
if I need to make a quick tweak to any-
thing, I'm already in the right place. Also
when shooting tethered, my goal is to
make the image as big as possible on-
screen, so I hide Lightroom's panels by
pressing
Shift-Tab
, which enlarges the size
of your image to take up nearly the whole
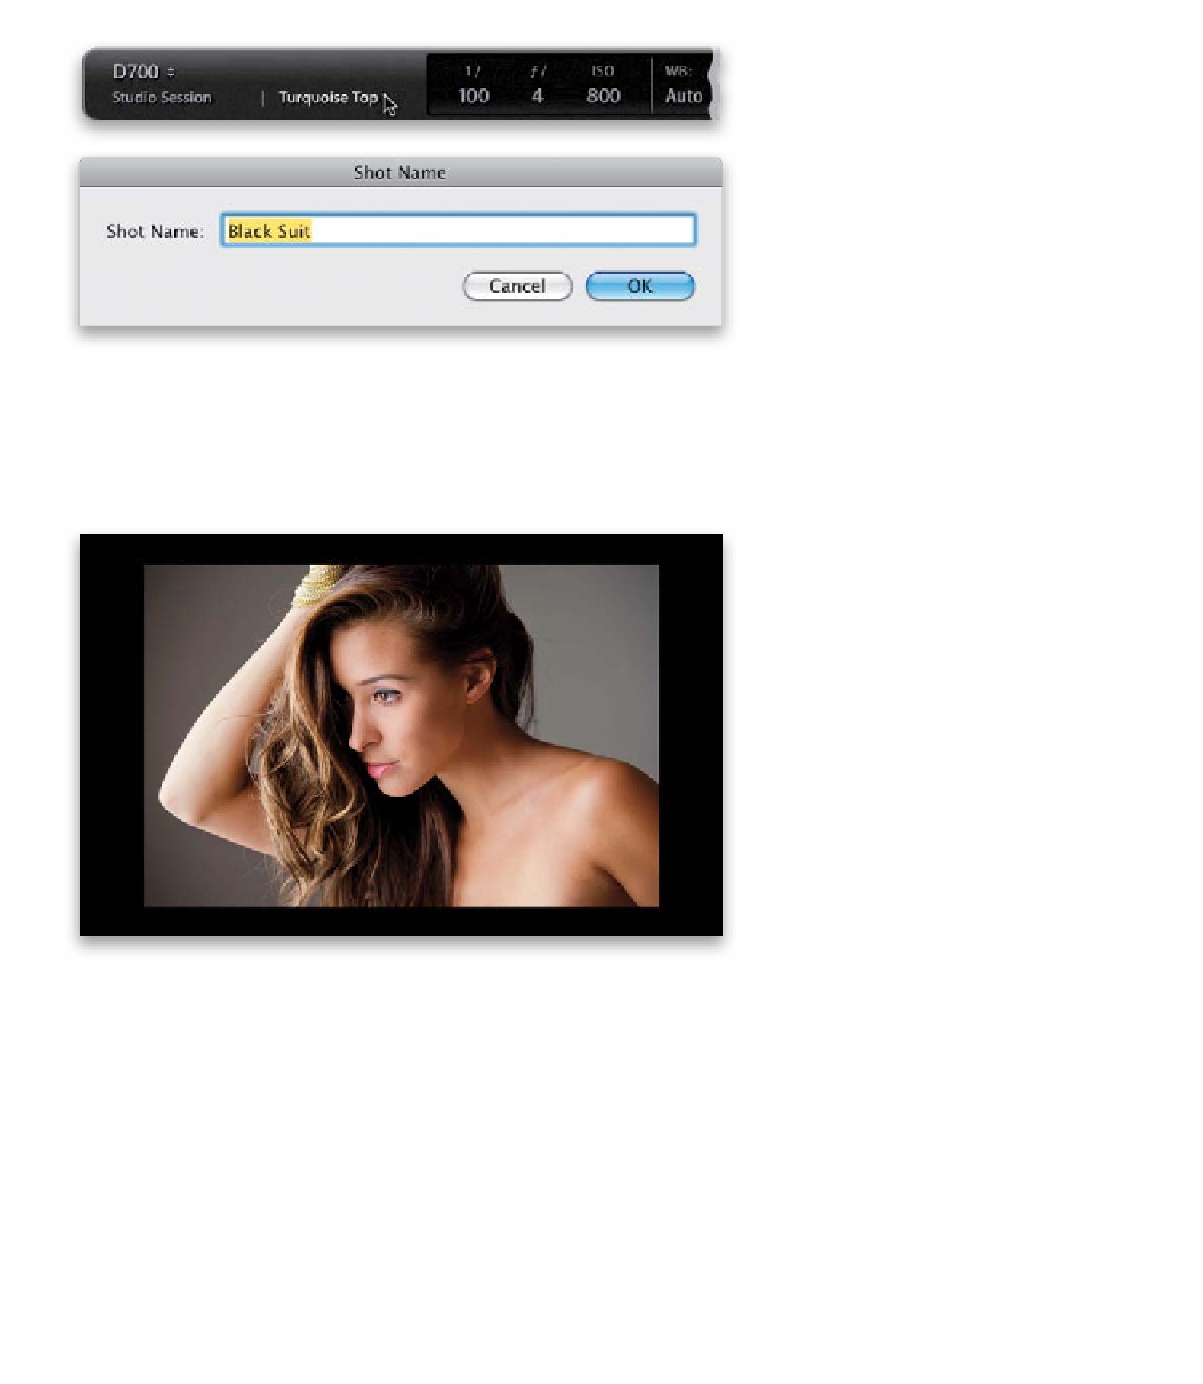
screen. Then lastly, I press the letter
L
twice to enter Lights Out mode, so all
I see is the full-screen-sized image cen-
tered on a black background, with no
distractions (as shown here). If I want to
adjust something, I press L twice, then
Shift-Tab to get the panels back.