Graphics Programs Reference
In-Depth Information
Step 13:
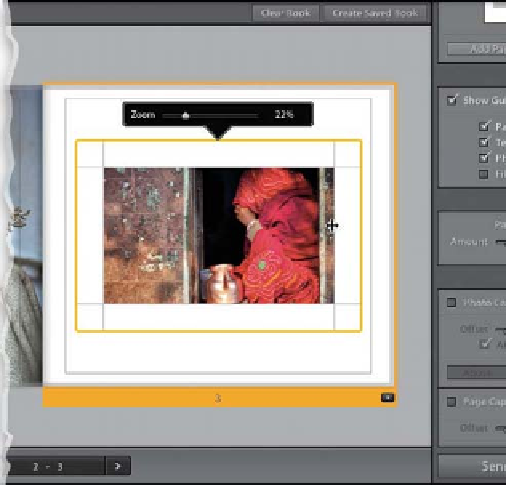
If you want more white space around your
photo, you can shrink the size of its cell by
clicking on the photo, and then grabbing
the top, bottom, or side of it (as your cur-
sor gets near the edges, it will change to a
double-headed arrow) and dragging inward
(as shown here). Another way to do this
is to go to the Cell panel (in the right side
Panels area) and drag the Padding Amount
slider. As you drag it to the right, it shrinks
the size of the photo in the cell. If you click
on the black, left-facing triangle, it'll reveal
four sliders, so you can individually adjust
the top, bottom, left, and right margins.
They are linked together by default, so to
move an individual slider, click on Link All
to turn that feature off.
Note:
If you chose
a layout with multiple photos right up
against each other, you can also add space
between them this way.
TIP: Removing a Photo
To remove a photo f from a cell, click on it
and hit the
Delete (PC: Backspace) key
.
It doesn't delete it from your collection, so
you can still find it down in your Filmstrip
and drop it onto another a page.
Step 14:
Before we move on, I zoomed back out
a bit until the resolution warning went
away. Now, if you want to change the
background color of your page, go to the
Background panel (in the right side Panels
area) and turn on the Background Color
checkbox. Choose a new color by clicking
on the color swatch to the right to bring
up the Background Color picker, and click
on any of the preset color swatches at the
top, or choose any shade from the gradi-
ent bar below. To access full colors, click-
and-drag the little horizontal bar on the
gradient bar on the right upward to at
least the middle of the bar to reveal the
colors. Now, you can choose any color
you'd like for your background.


