Graphics Programs Reference
In-Depth Information
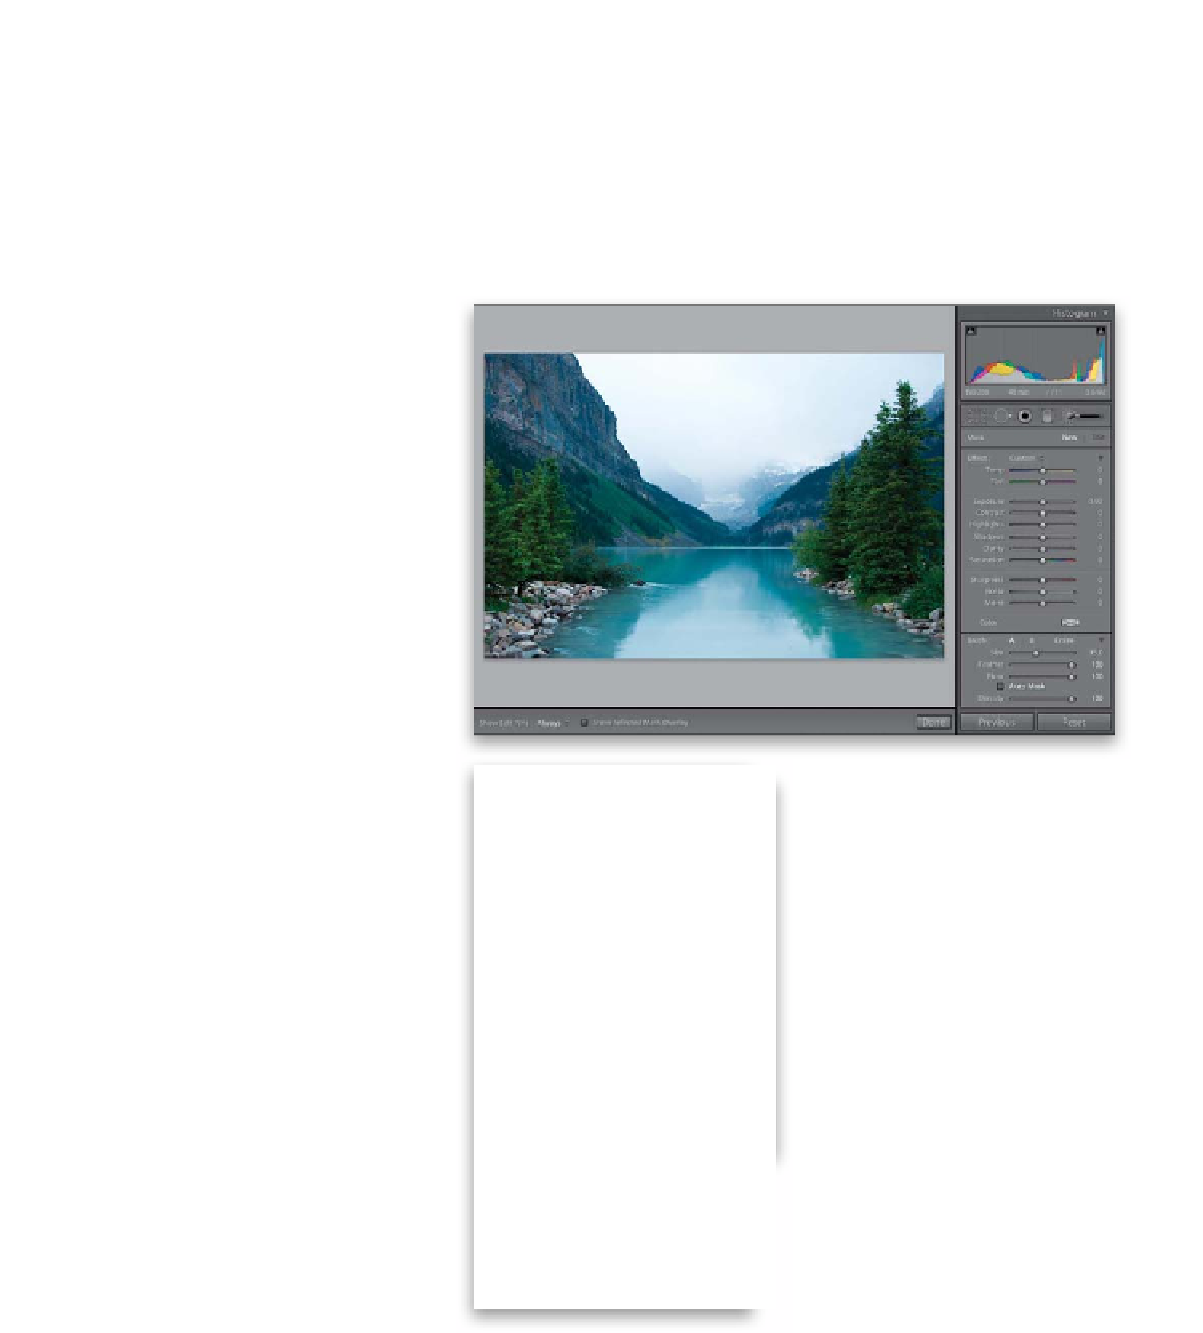
Everything we've done in the Develop module so far affected the entire image.
For example, if you drag the Temperature slider, it changes the white balance for
the entire image (Adobe calls this a “global adjustment”). But what if you want to
adjust one particular area (a “local” adjustment)? You'd use the Adjustment Brush,
which lets you paint changes just where you want them, so you can do things like
dodging and burning (lightening and darkening different parts of your photo), but
Adobe added more to this than just lightening and darkening. Here's how it works:
Step One:
In the Develop module, in the toolbox
right above the Basic panel, click on the
Adjustment Brush icon (shown circled here),
or just press the letter
K
on your keyboard.
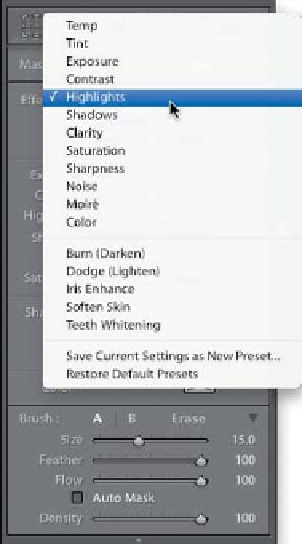
An options panel will pop down below the
toolbox with all the controls for using the
Adjustment Brush (as seen here). Take a
look in this panel and you'll see that you
can paint using nearly all the same controls
you have in the Basic panel. One notable
exception, though, is Vibrance. (Rats!)
Step Two:
With the Adjustment Brush, you choose
which effect you want to paint with by
dragging a slider, and then you just start
painting on your photo. You can also choose
an effect from the Effect pop-up menu (as
seen here). The advantage of choosing from
this menu is that when you choose an effect
here, it increases the amount of that par-
ticular effect, and then it resets all the other
sliders to zero, so you're not accidentally
painting with some settings you used earlier.
Plus, Adobe put some other presets at the
bottom of this menu for specific tasks, like
softening skin, whitening teeth, and so on.
TIP: Slider Reset Shortcut
The quickest way to reset all your sliders
to zero is to double-click directly on the
word “Effect” near the top-left corner of
the panel.