Graphics Programs Reference
In-Depth Information
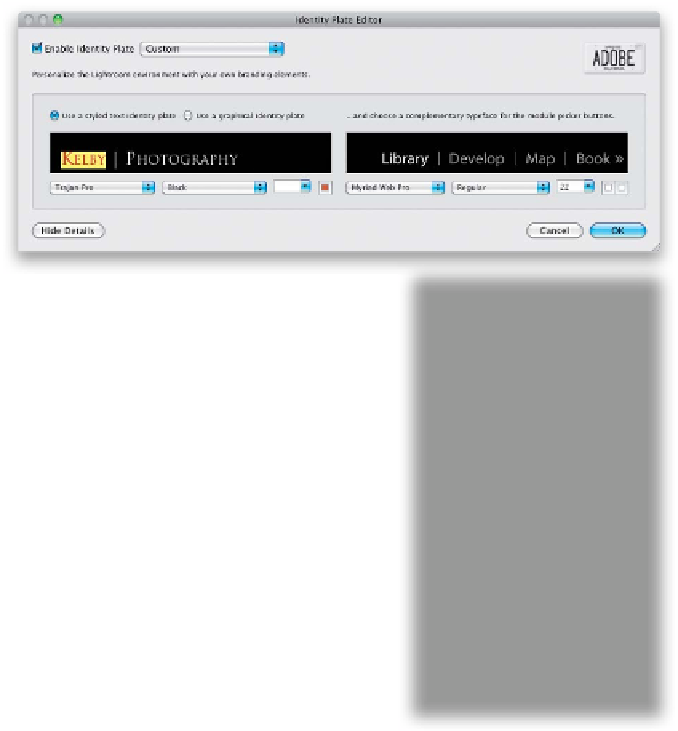
Step Three:
If you want to change only part of your
text (for example, if you wanted to change
the font of one of the words, or the font
size or color of a word), just highlight the
word you want to adjust before making
the change. To change the color, click on
the little square color swatch to the right
of the Font Size pop-up menu (it's shown
circled here). This brings up the Colors
panel (you're seeing the Macintosh Colors
panel here; the Windows Color panel will
look somewhat different, but don't let
that freak you out. Aw, what the heck—
go ahead and freak out!). Just choose the
color you want your selected text to be,
then close the Colors panel.
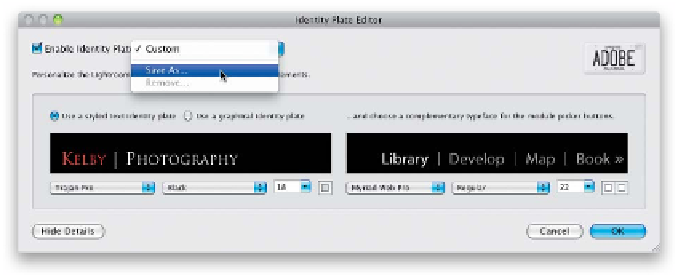
Step Four:
If you like the way your custom Identity
Plate looks, you definitely should save it,
because creating an Identity Plate does
more than just replace the current Adobe
Photoshop Lightroom 4 logo—you can
add your new custom Identity Plate text
(or logo) to any slide show, web gallery, or
final print by choosing it from the Identity
Plate pop-up menu in all three modules
(see, you were dismissing it when you just
thought it was a taskbar, feel good feature).
To save your custom Identit y Plate, f from
the Enable Identity Plate pop-up menu,
choose
Save As
(as shown here). Give your
Identity Plate a descriptive name, click OK,
and now it's saved. From here on out, it
will appear in the handy Identity Plate
pop-up menu, where you can get that
same custom text, font, and color with
just one click.
Continued