Graphics Programs Reference
In-Depth Information
In Lightroom 3, you could import video clips from DSLR cameras and…well…
that was pretty much it. In Lightroom 4, you can do everything from trim a
video to add special effects, like black and white, or split-tone looks, or well,
basically, a lot of the stuff you can do to photos, you can now do to video
(including applying curves, adding contrast, changing hues, or standard stuff
like matching color across multiple videos). Here's whatcha need to do:
Working
Step One:
You impor t a video into Lightroom just
like you would a photo, but you'll know it's
a video because you'll see a video camera
icon in the lower-left corner of its thumbnail
when it appears in the Import window
(Light
room 4 supports most major DSLR
video formats, so chances are your video
clips will import with no problem). Once
it's in Lightroom, you can do all the orga-
nizational things you normally do with an
image (like put it in a collection, add flags,
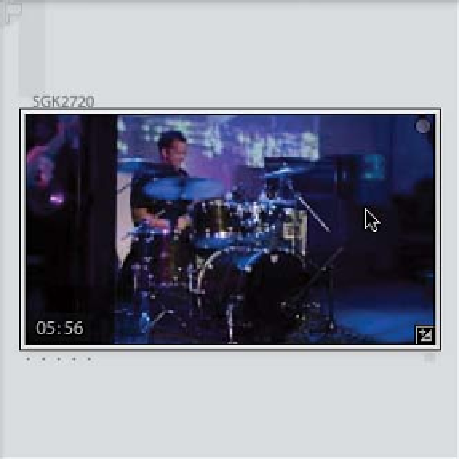
metadata, and so on). Once the video is
imported, you won't see the little camera
icon any more, though. Instead, you'll see
the length of the video displayed in the
bottom-left corner of the thumbnail (as
seen here, where the length of this video
clip is 5 minutes and 56 seconds).
Step Two:
You can see a visual preview of what 's
on the video by moving your cursor over
the thumbnail itself and dragging either
left or right to quickly “scrub” through the
video. Although you're not going to see all
the frames in the video by doing this quick
scrub, it comes in handy when you have
two or three similar clips, and you want to
find the one you're looking for. Let's say,
for example, you've got a number of short
clips of a bride and groom about to cut a
wedding cake. Well, to find the one where
they actually do the cutting (and not the
cutting up), you can quickly scrub through
each clip and find what you're looking for
without having to actually open the video.