Graphics Programs Reference
In-Depth Information
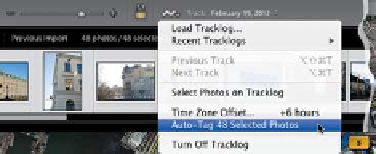
Step Nine:
So far, all you've done is change the time
of the photos, but to actually have those
photos move to the map, you need to
select them, then go back to that same
GPS Tracklog pop-up menu and choose
Auto-Tag Selected Photos
, as shown
here, and now those images get added
to the map.
TIP: Zooming In
To zoom in closer on a location on the
map, you can just double-click on that
area and it will zoom in one level tighter.
You can use the Zoom slider in the tool-
bar, or the + (plus sign) and - (minus sign)
keys on your keyboard. You can also press-
and-hold the Option (PC: Alt) key, and
click-and-drag out a selection around the
area you want to zoom in tight on. Lastly,
if your mouse has a scroll wheel, that
works for zooming in/out, too.
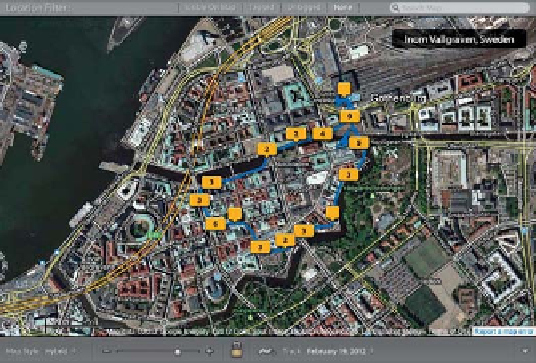
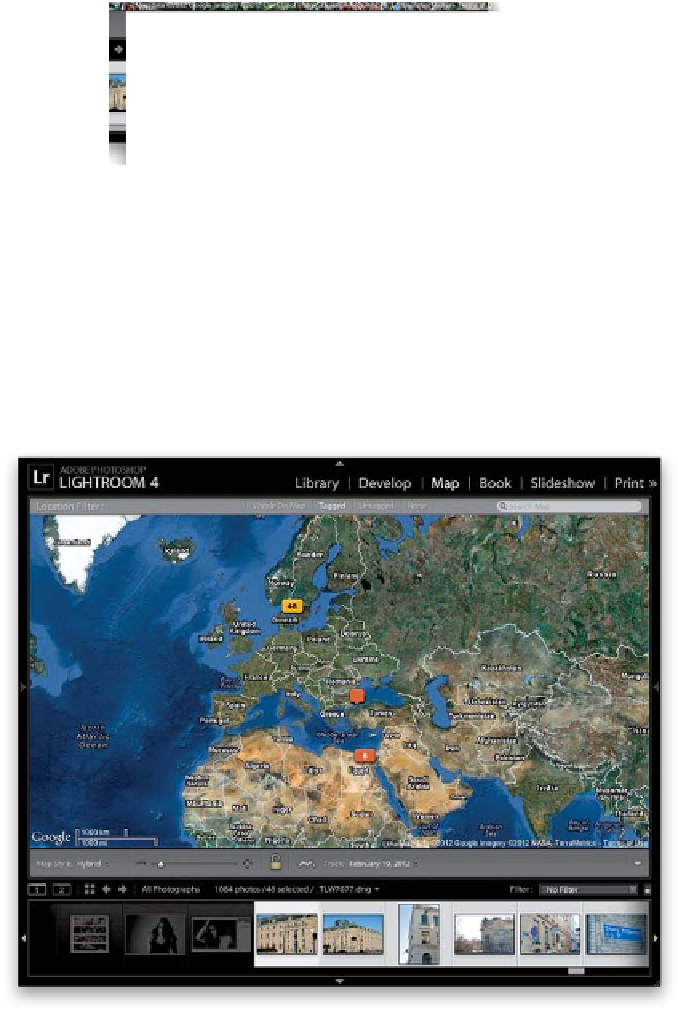
Step 10:
At the top of the map is a Location Filter,
which is handy for helping you find which
images in your library have been tagged
on the map, or not. So, if you want to
instantly see all the photos that do have
embedded GPS info, go to the Library
module, click on All Photographs in the
Catalog panel, then go back to the Map
module, and click the Tagged button (as
I did here). All your tagged photos will be
highlighted in the Filmstrip. To see the
ones missing that data (so you can make
sure they get added to the map), click the
Untagged button and all the images that
aren't tagged on the map appear high-
lighted down in the Filmstrip. To see all
the images that are visible on your current
map, just click the Visible On Map button.
I won't insult you by explaining what
None does. ;-)