Hardware Reference
In-Depth Information
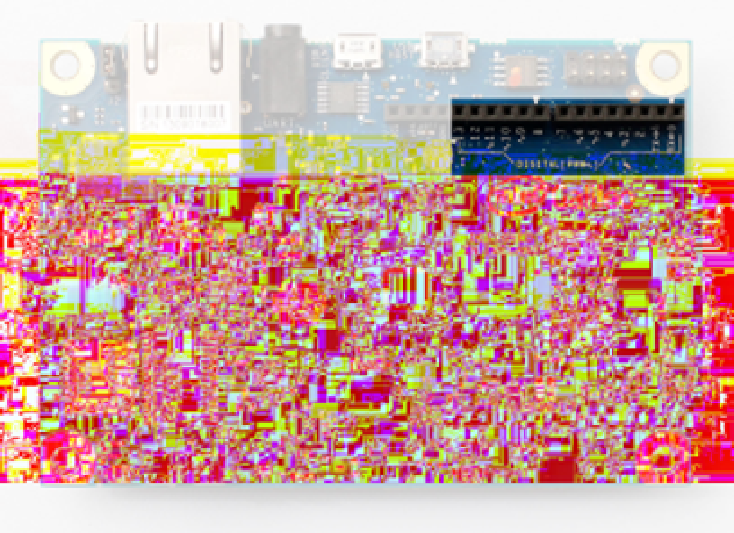
Pin Numbers
But why store the integer 13 in a variable called
led
? The reason is that there
are 14
digital input/output pins
on the Galileo (see
Figure 3-2
). These are pins
that can be used to control outputs or read inputs. (In this chapter you're
using them as outputs only.) These pins are numbered 0 through 13 and you
use one of those numbers in your sketch to identify the pin that you want to
turn on or off. If you store one of those pin numbers in a variable, you can use
that variable name (in this case,
led
) in your sketch instead of having to refer
to the pin number (in this case, 13) over and over in your sketch (see
“Hard-
coding” on page 40
).
Figure 3-2.
The fourteen digital input/output pins on the Galileo are num-
bered 0 through 13.
Pin number 13 is different from the others because it's wired up to an LED
that's attached to the board. That's the one that was blinking after you up-
loaded the code at the end of
Chapter 2
.
Pin 13 is also wired up to the tiny hole labeled with the number 13 on the
Arduino expansion pins. To prove it, follow the instructions below to wire up
another LED.