Graphics Programs Reference
In-Depth Information
Editor: Window > Navigator
When the picture is enlarged beyond the boundaries of the window, you will only be able to
see a small section of the image at one time. To navigate around the picture, use the Hand
tool to click and drag the picture within the box. Alternatively, Elements contains a special
Navigator window, where you can interactively enlarge and reduce image size, as well as
move anywhere around the image boundaries.
To rotate images in the Organizer
workspace select the Rotate 90° Left
or Right option from the Edit menu.
As an alternative you could also click
one of the Rotate buttons at the
bottom of the Organizer window in
the Actions bar. Single or multi-se-
lected photos can be rotated in this
way.
One of the first tasks to undertake on pictures that you have downloaded from your cam-
era or scanner is to correct their orientation. This, of course, is only true for those images
that were taken with the camera on the side, or prints that were inadvertently scanned the
wrong way up. You can rotate your pictures back to their rightful orientation in a variety of
different ways. Use the steps below to reorientate your photos depending on the workspace
you have open.
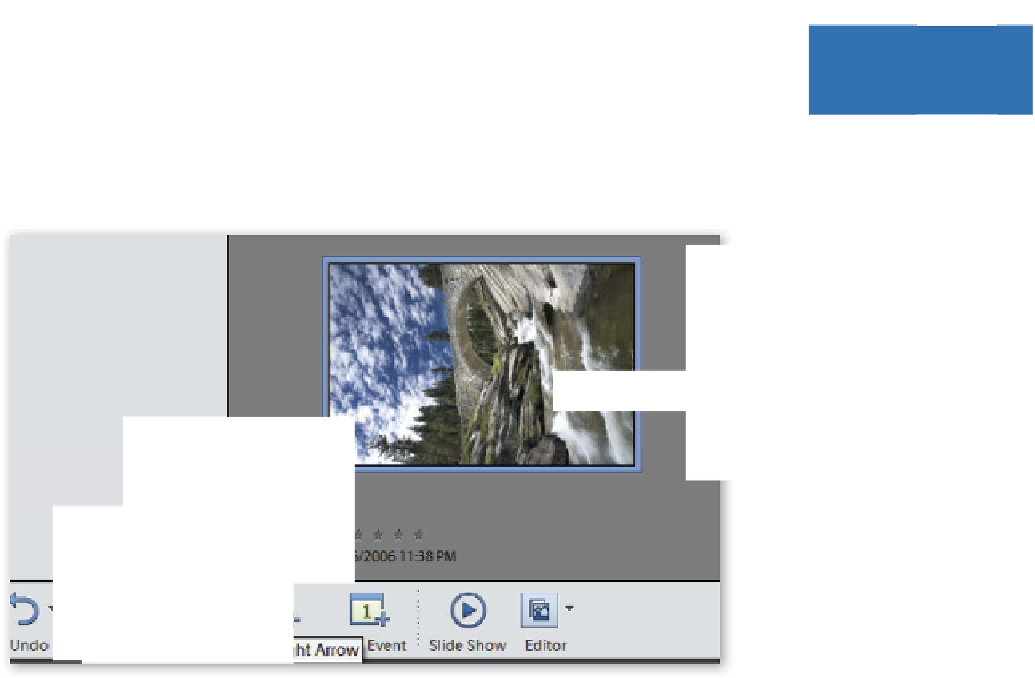
Organizer:
Select the thumbnail of the picture that needs rotating and then select Rotate
90° Left or Right from either the Edit menu, Shortcut bar or the right-click menu.
View Photos in Full Screen:
Either wait until the image you need to rotate is displayed on
the main screen, or select it from the Thumbnail well on the right of the window, and then
click one of the Rotate buttons located at the top of the Organizer window.
Full Editor:
To rotate the whole picture using the Image > Rotate > 90° Left or Right
options. Rotating the photo 180° will turn the picture upside down. Flipping the canvas
provides a mirror image of the original.
Edit Quick:
As well as using the same menu commands detailed for the Full Edit above, you
can also click on the Rotate buttons displayed at the bottom of the preview area.


Search WWH ::

Custom Search