Graphics Programs Reference
In-Depth Information
The Print
dialog is the first stop for most users wanting to make a hard copy of their digital
pictures. The same dialog is displayed when you select File > Print from either the Editor or
Organizer workspaces, or by clicking the Print Bin Files entry located on the Bin Actions
menu of the Project Bin.
The Print Dialog
The settings in the dialog are broken into five different sections that are numbered and are
located on the right on the window. They are:
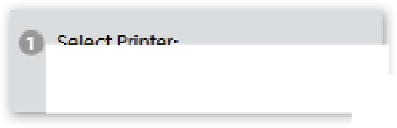
Select Printer
- This drop-down menu contains a list of all the printers installed on your
computer. The settings listed in other parts of the dialog are dependent on the choice of
printer so it is important that you select your printer first before proceeding to adjust other
options.
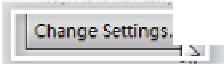
The Change Settings but-
ton displays the control di-
alog for the printer.
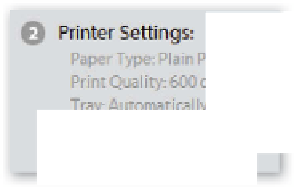
Printer Settings -
A list of current printer settings is displayed in this section of the dialog.
This is handy as it gives you a place where you can quickly check that you have not done
something silly like picking a low print quality when you are producing a high quality
presentation print.
To alter the settings displayed here you will need to click the Change Settings button. This
action displays the new Change Settings dialog. Here you can change printer, paper type,
print quality, paper tray and paper size via the associated drop-down menu. For the most

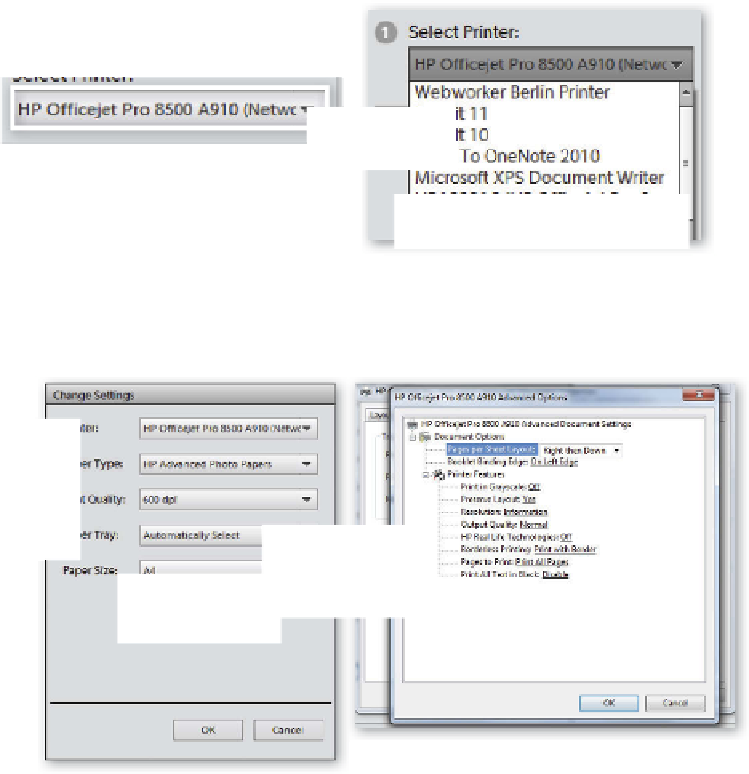


Search WWH ::

Custom Search