Graphics Programs Reference
In-Depth Information
3
2
1
4
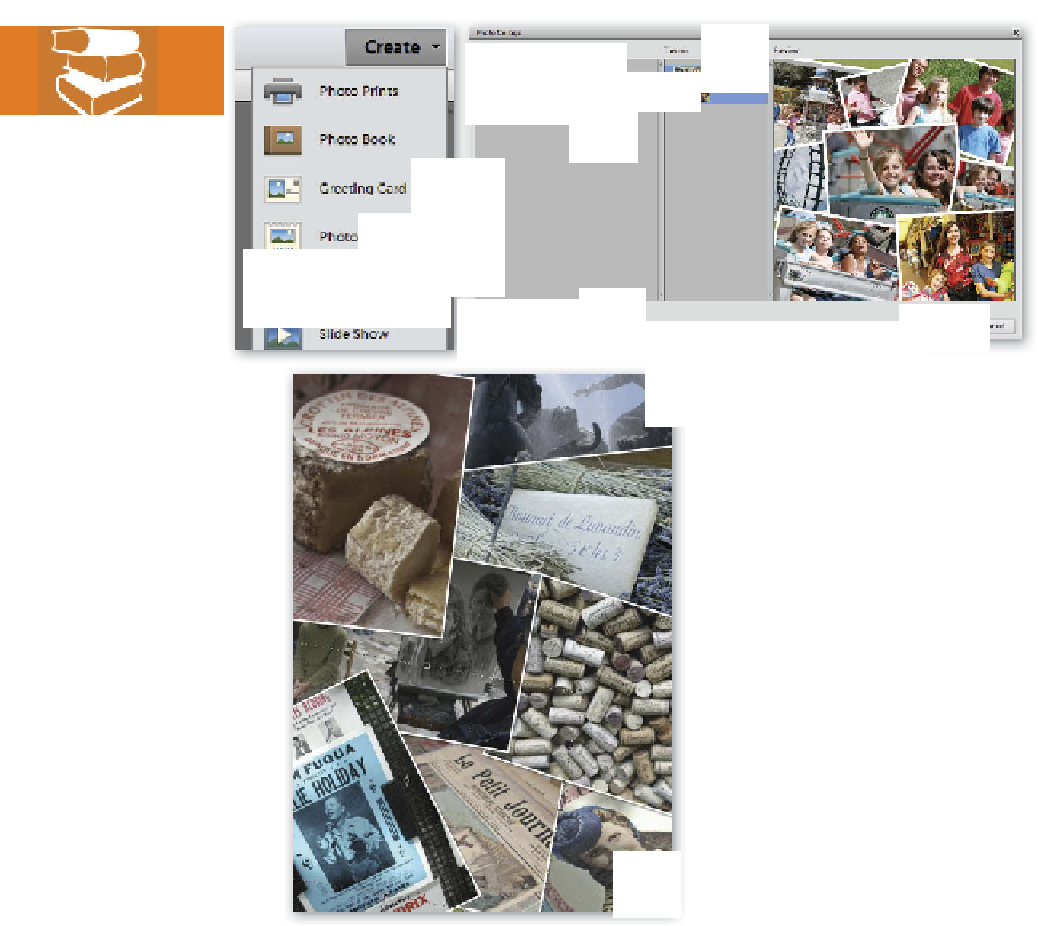
Start your Photo Collage project by
selecting the images to include in the
Organizer workspace. Next, click on the
Photo Collage entry in the Create panel (1)
and choose a page size for the project (2)
and theme (3) from the Photo Collage
dialog. Now select the Autofill option (4)
if you want Elements to automatically fill
the frames in the layout. Click the OK
button to produce the collage (5).
5
Whereas the Photo Books option creates multi-page documents, the Photo Collage entry in
the Create panel is used to produce single page documents. Like book projects, each collage
page is styled with a theme (frame design and background) and can include images, text
and graphics. Photo Collage projects are a great way to show off your images and can be
edited and fine-tuned even after they have been saved and you have left the Photo Collage
workspace.
The process for creating a Photo Collage is similar to the workflow we looked at for Photo
Books. After selecting the pictures in the Organizer workspace you choose the Photo Collage
option from Create panel. This action opens the Elements' Editor and displays the Photo


Search WWH ::

Custom Search