Graphics Programs Reference
In-Depth Information
visible in the toolbox at any time, you can select a different option by clicking and holding
the mouse button down over the tool icon and then selecting the new tool from the list as it
appears.
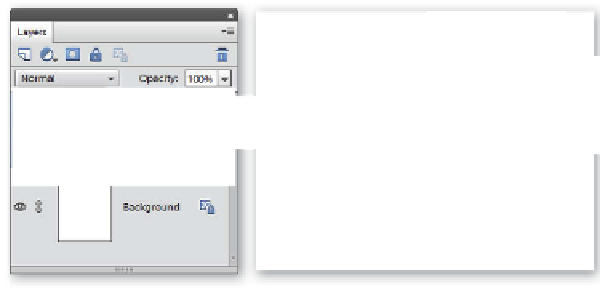
A new shape layer is opened automatically when you select a tool and draw a new shape.
Double-clicking the shape thumbnail in the Layers panel allows you to change the color.
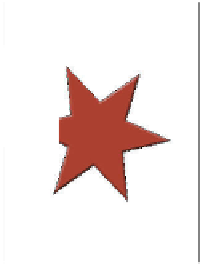
When you create multiple shapes on a single layer you have the opportunity to decide how
overlapping areas interact. Two or more different shapes can be added to form a third and
the intersection of shapes can be added or subtracted from the image. At first the Shape tool
can seem a little confusing, but with practise you will be able to build up complex images by
gradually adding and subtracting shapes.
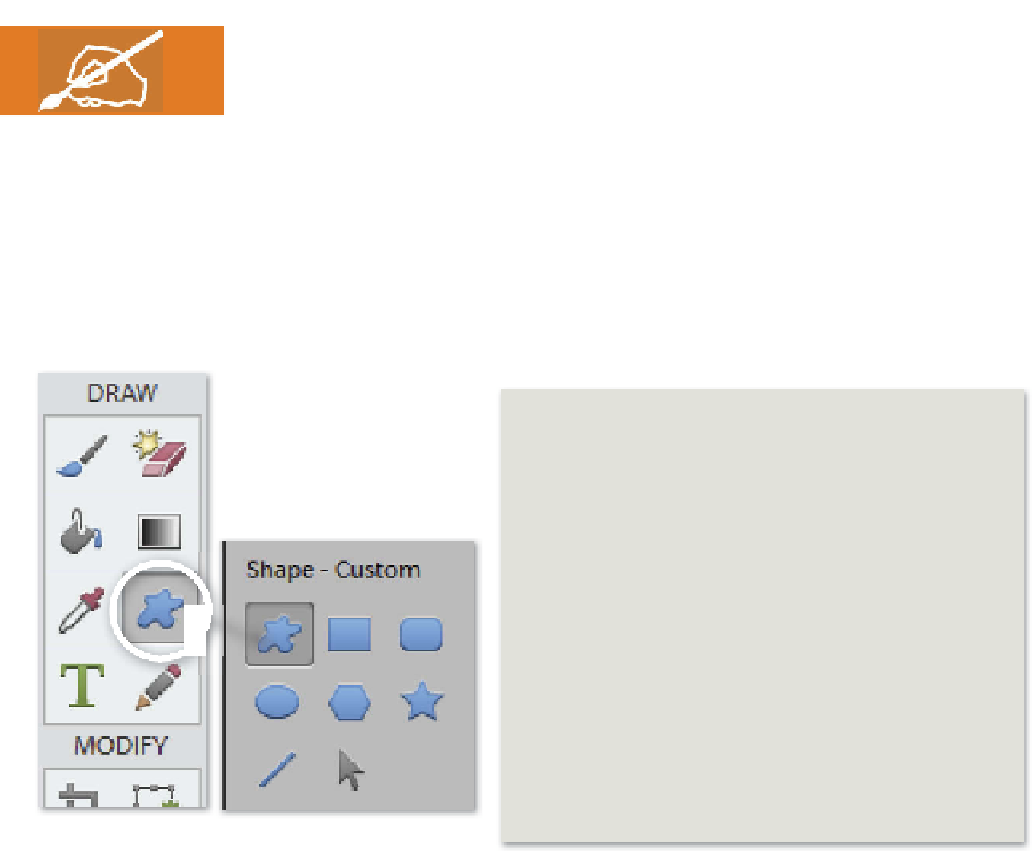
Only one Shape tool is shown in
the toolbox, but others can be
viewed in, and selected from, the
tool's options bar or by repeatedly
pressing the tool's hotkey (U).
Shape Tool workflow:
1 Pick the Shape tool you require from the toolbox.
Select other shapes from the tool's options bar.
2 For a new shape pick the Create New Shape Layer
option. For adding to an existing shape layer,
select the layer and select the Shape Area option
that suits your needs. You can pick from Add,
Subtract, Intersect and Exclude.
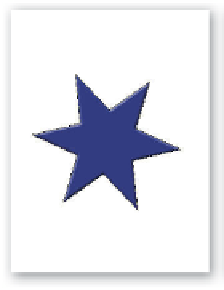
3 Click on the color swatch to specify the fill color for
the shape.
4 Click and drag on the image surface to draw the
shape.
The fill color of a shape can be changed by double-clicking the shape in the shape's layer or the color icon
(earlier versions of Elements).


Search WWH ::

Custom Search