Graphics Programs Reference
In-Depth Information
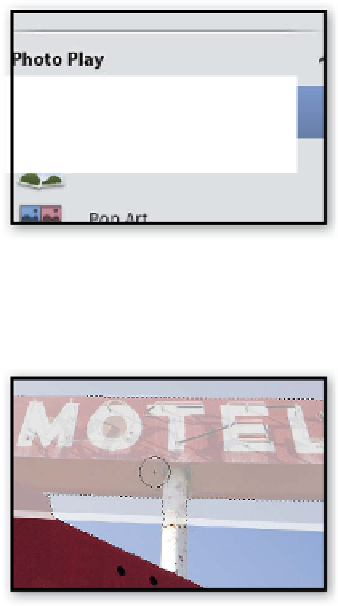
BEFORE
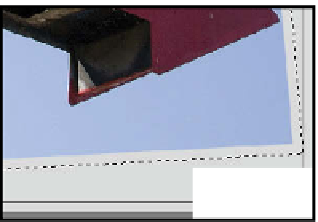
AFTER
Photo Play > Out Of Bounds
The Out of Bounds entry in the Photo Play section of the Guided Edit panel creates a very interesting effect where
the main subject in the photo looks like it is breaking out of the boundaries of the photo. This is a sophisticated effect
and one which most users would not attempt but with the step-by-step nature of the guided edit workspace such
complex editing tasks become much easier for even the newest Elements users.
1
2
3
As with most Guided Edit techniques, start
by selecting a photo from the Organizer
workspace and click the Editor button at the
bottom of the screen. The photo will open
into the Editor workspace, choose Guided
from the top and then choose the Out Of
Bounds entry from the pane on the right.
Start by clicking the Add Frame button and
using the side and corner handles to draw a
marquee that will become the photo frame.
Hold down the Ctrl/Cmd key and drag the
corner handles to add perspective to the
frame. Click the Green tick to apply the mar-
quee.
Next, move the side and corner handles a
second time so that they are sitting just out-
side of the selected region. The area between
the photo and the marquee edges will be-
come the white photo frame. Click the green
tick to apply the photo edge selection.
b
lk
handles
corner
corner handles
a
4
5
6
Now click on the Quick Selection tool (in the
right panel) and paint onto the subject ar-
eas outside the photo frame to be displayed
in the final illustration. Use the Alt/Opt key
to remove sections from the selection if any
other areas are inadvertently included.
Click the Create Out Of Bounds buttons to
process the image and create the photo and
'break out' subject. Click the Add a Back-
ground Gradient button to place a gradient
in the background of the design.
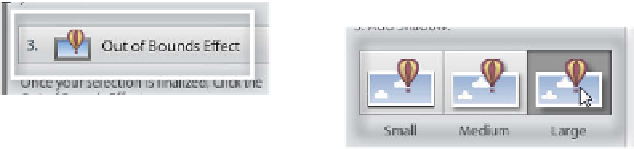
Next, add a shadow to the design by clicking
either the Small, Medium or Large buttons.
Finally, click the Done button to finish the
process.


Search WWH ::

Custom Search