Graphics Programs Reference
In-Depth Information
#
GUIDED
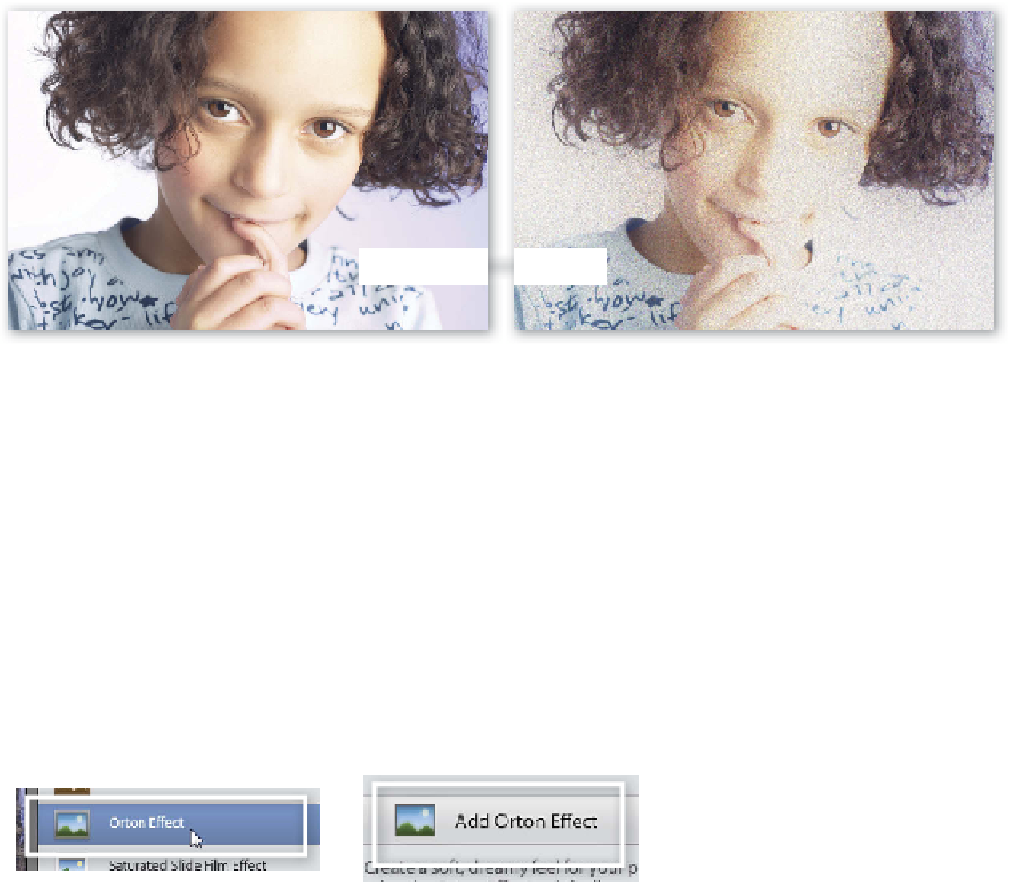
BEFORE
AFTER
Photo Effects > Orton Effect
In recent years the Orton Effect has become very popular among photog-
raphers who want to bring a mystical, other-world, quality to their photos.
You may have seen examples of the technique in wedding or portrait pho-
tographer's windows and wondered how they were created.
1
Images processed with this technique typically contain some blur and grain
and often the tones they contain are processed brighter than normal. Well
now you can process your image using this technique courtesy of the new
Orton Effect entry in the Guided Edit section of Elements.
Start by selecting a photo in the browser
space of the Organizer. Next Click on the
Editor button in the action bar at the bot-
tom of the workspace.
2
3
4
4
The photo will be opened in the Editor
workspace. Select the Guided mode button
at the top of the screen. The Guided edit
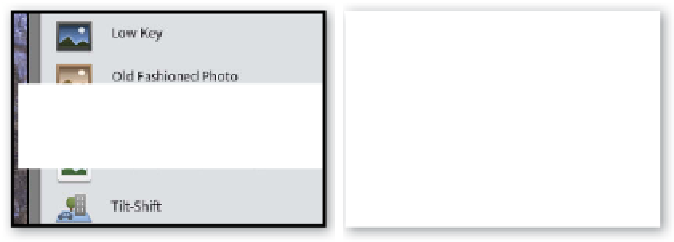
panel will be displayed on the right. Choose
the Orton Effect entry from the Photo
Effects section of the panel.
Now click the Add Orton Effect button. You
may not see much change to your photo at
this point especially if the Increase Blur and
Increase Noise sliders are set all the way to
the left.
Next alter each of the three slider controls
- Increase Blur, Increase Noise, and Apply
Brightness - to control the effect. When you
are happy with the results, click the Done
button to apply the effect.


Search WWH ::

Custom Search