Graphics Programs Reference
In-Depth Information
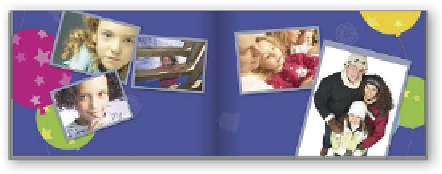
The Photo Book and Photo Collage op-
tions use a similar interface for projects
that make use of the special frames,
backgrounds, themes (matched back-
grounds and frame sets), graphics and text to create multi-page documents from a group
of selected photos. The big difference between the two options is that with Photo Books, the
creation is optimized for multi-page documents, whereas the Photo Collage option creates a
series of single page layouts which can be printed using your desktop machine.
The Theme and Layout options allow the user to automatically design their pages and insert
pictures using one of a range of templates and styles, and then edit or add to the layouts after
creation. For more details on creating Photo Books and Collages see
Chapter 18.
1
2
3
2
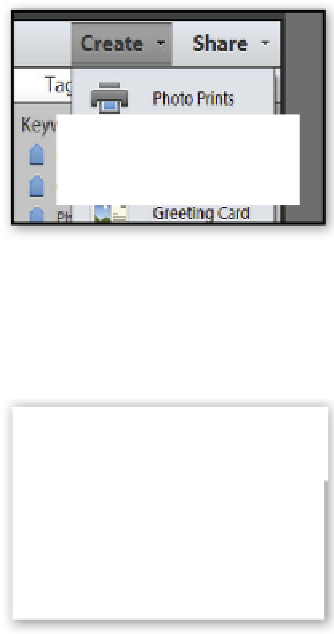
Start by selecting the photos that you wish
to include from the thumbnails displayed in
the Organizer workspace. Next choose the
Photo Book option in the Create Task Pane.
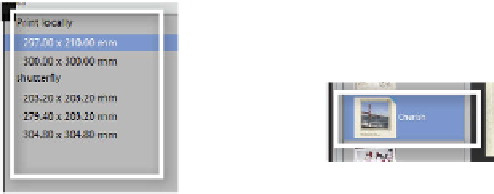
The first step is to pick the type of book
(printing online or with a desktop printer)
you want to create. Next, select the page size
from those listed under each book type.
NOTE: All book types can be printed to a
desktop printer.
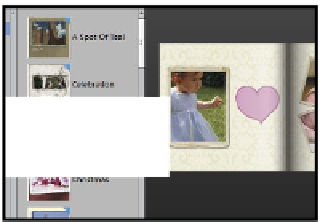
In the next step select a theme (matched
background and frame set) to use for the
Photo Book. Also choose if you want
Elements to 'Auto-fill' the frames with the
images you selected and insert a figure for
the number of pages if you want to include.
Click OK to produce the topic.
4
5
6
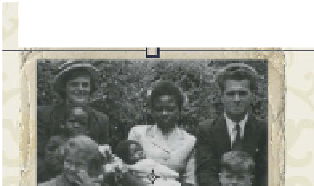
Adjust the size and positioning of frames by
clicking onto each in turn and dragging the
corner handles. Alter the size and position
of the photos inside the frames by double-
clicking on the photo and either using the
corner handles, the tools in the edit bar at
the top of the frame or the options in the
right-click pop-up menu.
With the adjustments complete, save the
project by clicking Done at the bottom of
the right panel. To print the topic to a
desktop printer open the saved project in
the Edit space and then choose File > Print.
Alternatively with the Photo Book file open
in the Editor space, click the Print button at
the bottom of the workspace.
To have the mu -page document
professionally printed and bound using the
Shutterfly service, select this option at the
first screen when star ting the topic creation
process. After completing the topic click the
Order button at the bottom of the Create
panel to place an online request for
publishing.


Search WWH ::

Custom Search