Graphics Programs Reference
In-Depth Information
Photoshop Elements provides a mechanism for the easy
creation of professional-looking calendar which you can
print with your desktop printer. Photos are selected in
the Organizer space before being uploaded to the web
where a step-by-step wizard takes over the production
process.
See
Chapter 18
for more information about editing your
photo calendar styles.
1
2
3
1
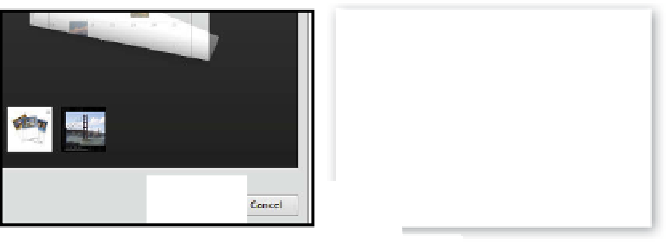
Start by selecting the photos that you wish
to include from the thumbnails displayed in
the Organizer workspace. Choose the Photo
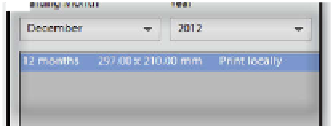
Calendar option in the Create Task Pane. Now
pick the Starting Month and Year and choose
if the calendar will be printed online or
locally. The options available here will
depend on your geographic location.
Now select the style of the Calendar from
the Themes area. Select the Auto Fill option
to instruct Elements to place all selected
images into the calendar. Click OK to produce
the calendar. You can now adjust the images,
frames and backgrounds just like photo
books.
You can change the photos used in the
Calendar at any time by selecting the Replace
Photo option in the right-click menu.
Or alternatively images displayed in the
Photo Bin can be dragged to one of the
picture frames in the design for automatic
replacement.
f
h
l
You can
4
Once completed you can click the Save
button to store the project. Saved projects
can be edited at a later date. Click the Print
button at the bottom of the workspace to
output the calendar to a desktop printer.


Search WWH ::

Custom Search