Graphics Reference
In-Depth Information
• You do not need to crank the bolts down tightly; tighten them with an Allen
wrench until they're snug, but don't tighten so much that the bolt cuts into
the wood or crushes it.
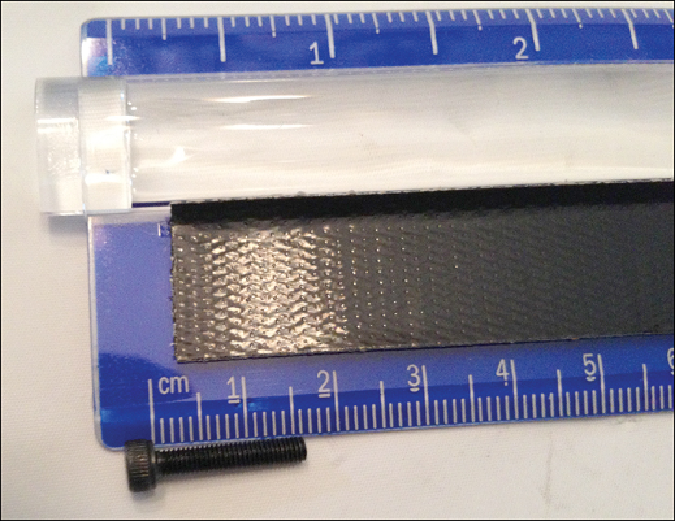
• Use a ruler (see
Figure 3.6
)
to verify the length of all the bolts and pieces
you'll be using. Many of the small M3 bolts that come with the Simple differ
in length only by 5mm. Even better, open the bag of bolts and separate them
into cups or baggies by size. It'll save you frustration when you're in the
middle of your build.
Figure 3.6
Use a ruler to verify the lengths of a bolt.
• Each motor has a length of wires coming out of one side. Use photos to help
you determine the proper orientation of the motor so that the wires are point-
ing in the right direction. This will help later when you're putting the Simple
together and all the wires are running in the same direction (toward the circuit
board). Also, many of the laser-cut pieces of the Simple have holes for rout-
ing wire through them. Use the instructions and the photos to discover the

Search WWH ::

Custom Search