Graphics Reference
In-Depth Information
wooden frame pieces and the zip ties. Be certain to do your research so you'll
know the method used for assembling your own 3D printer.
Speaking of zip ties, you want to get into the habit of carefully examining the pho-
tos of the assembly instructions. You'll often find clues about the proper place-
ment of the nub that is formed when the zip tie is closed and locked. This nub can
sometimes get in the way of moving parts. For example, if the text doesn't tell you
which side of a piece of wood that the zip tie's nub should be on, consult a photo.
During my assembly, there was never any question about which side of a piece of
laser-cut wood the nub would go, but work slowly and always verify with a photo
if you can.
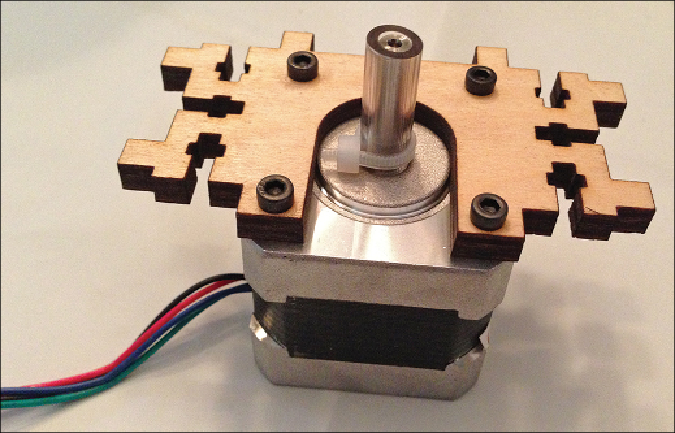
Early in the assembly, you'll connect your first motor to a piece of laser-cut wood,
as shown in
Figure 3.5
.
Figure 3.5
X-axis motor attached to a laser-cut piece of wood.
You should be aware of a few items when bolting a motor onto a piece of wood:
• You want to find and use the proper length bolt that will go all the way
through the wood and into the motor. The motors for the Simple have four
holes for bolts.
Search WWH ::

Custom Search