Hardware Reference
In-Depth Information
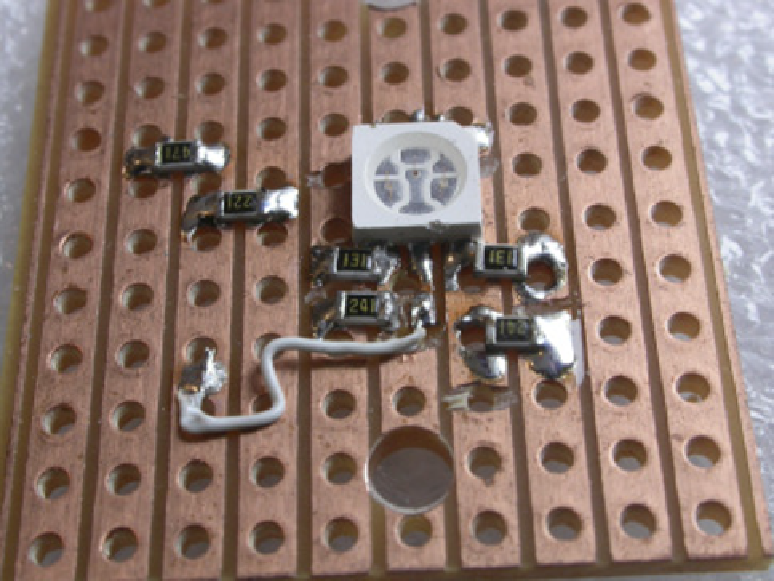
the inal layout is shown in Figure 8-8. For a predifuser you can either sand the surface of
the LED or glue a small piece of translucent plastic over the top of it.
Figure 8-8:
A photograph
of the surface
mount circuit
layout.
his LED board, however you make it, will require ixing to a base. You can either use hot melt
glue or a larger piece of strip board and drill some holes for ixing. Finally there is the matter of the
player switches. I have found that the tactile switches made by NKK are rather good-looking and
not too expensive. hey come in a round or rectangular style with a variety of coloured tops. For
this project I used the JF15SP1C with a red top and the JF15SP1G with the blue top. Of course,
you can use any other type of switch you like, as long as it is a momentary push-to-make type.
Many switches like this have four connections, and the ones on each side are electrically joined;
when the button is pressed one side electrically connects to the other. To prevent confusion about
which side is which, I have developed a neat trick: Always connect the wires to two opposite cor-
ners and leave the other two unconnected, so you will always have the correct connections.
Creating the Box
he mechanical construction of the box is vital to the inal look and feel of the project. Don't be
tempted to skimp here if you want a top-notch result. You can make or buy a box, but by far the
most satisfactory choice is to make one. here are many construction techniques you can use as