Graphics Programs Reference
In-Depth Information
of the Stage in order to create the illusion of continuous movement. Currently our row
of trees is the same size as the Stage width. Let's fix that. Select all your trees and
choose Edit > Copy. Then select Edit > Paste in Place. You have duplicated the forest
and pasted it exactly on top of the original row of trees.
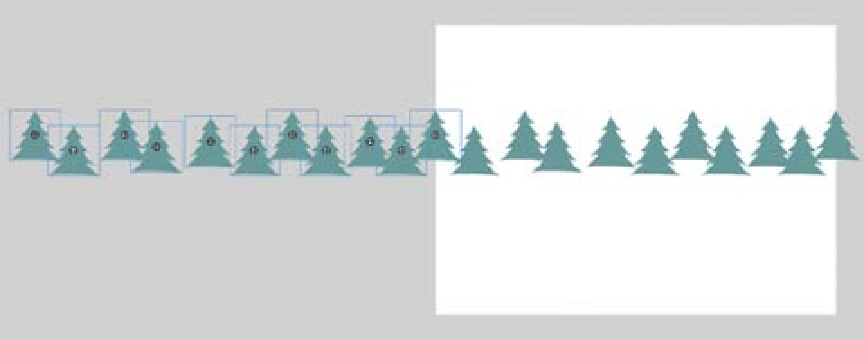
Step 8: Double the width of the forest (Part 2)
While the pasted trees are still selected, click and drag them to the left. Hold down the
Shift key to constrain vertical movement. Align the tree that was on the right edge of
the Stage to the one on the left edge. You have now doubled the width of your forest
and still maintained matching ends (Figure 3.36).
Figure 3.36
Doubling the width of the forest
Step 9: Delete a duplicate tree
There is one tree too many. Select the tree in the middle of the forest and delete it. You
are now left with the original tree that you moved in Step 3.
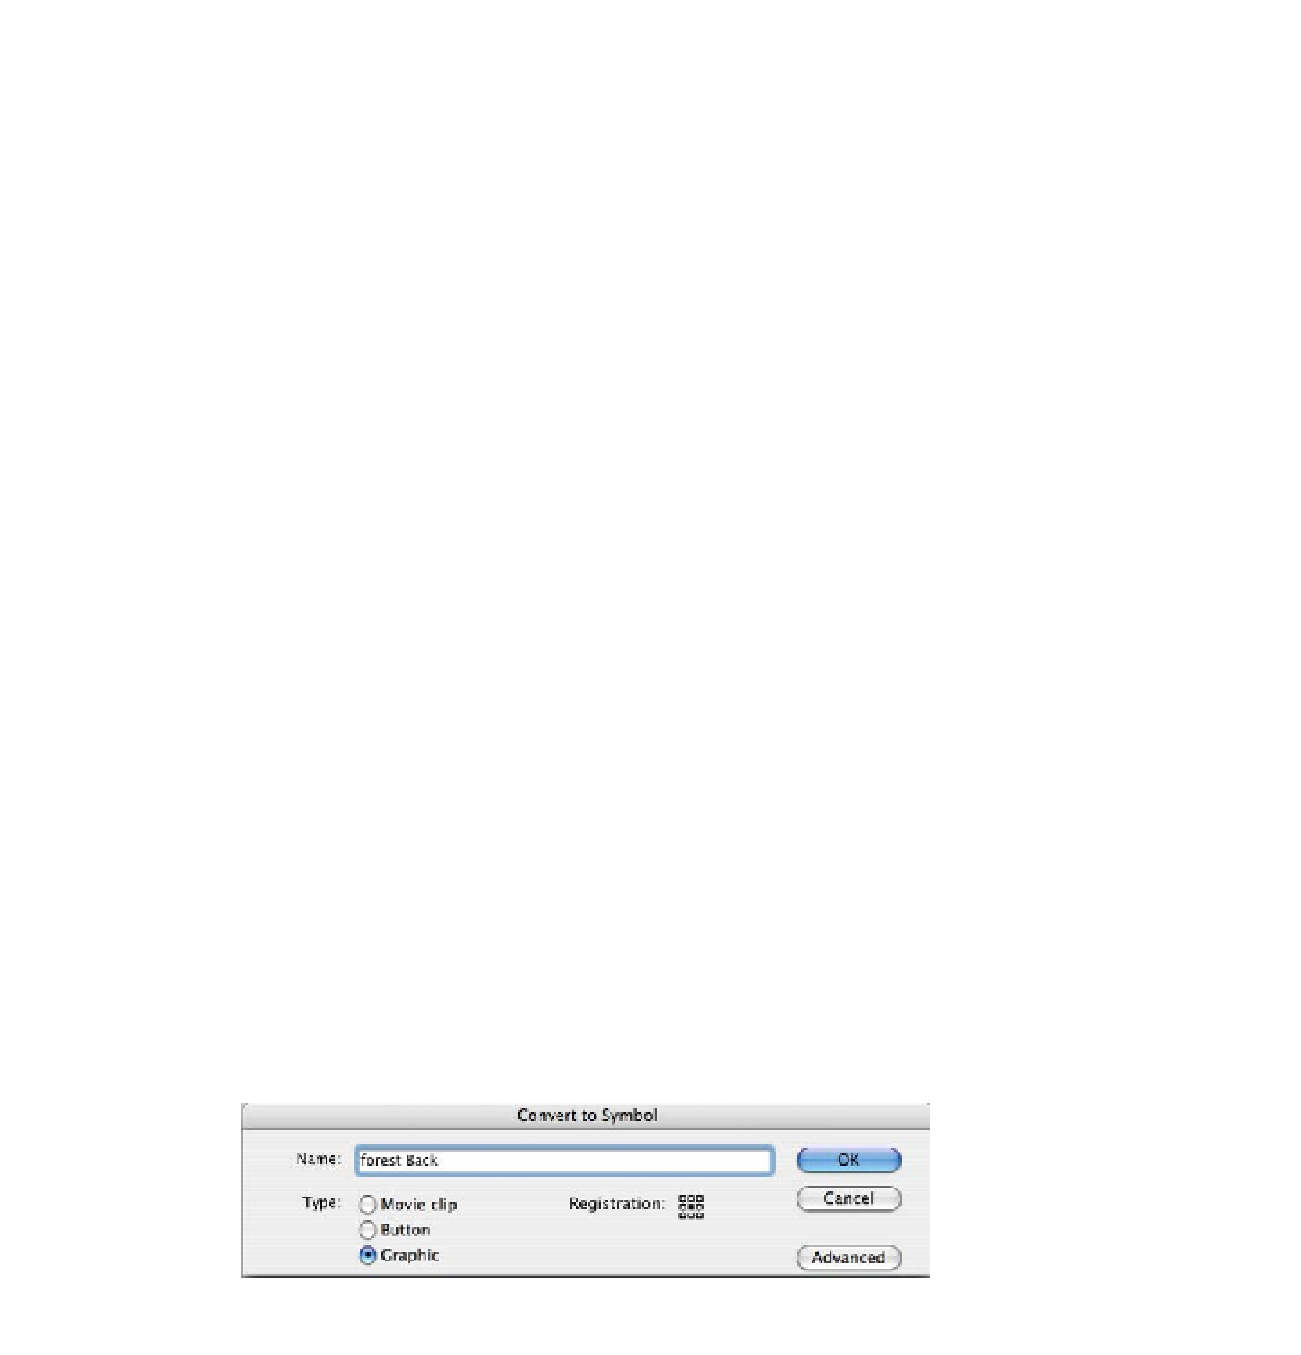
Step 10: Group the trees into a graphic symbol
Group all the trees together. Select all the trees and convert them into a graphic sym-
bol (Modify > Convert to Symbol). Name it
forest Back
and make sure the type is set
to Graphic (Figure 3.37). This will make it easier to animate later.
Figure 3.37
Converting all the trees to a graphic symbol
Search WWH ::

Custom Search