Information Technology Reference
In-Depth Information
Figure 4-2:
Add a new secondary linked blog to your primary account on the Create a New Blog page.
2. In the Title field, enter the title for your new blog.
You can change the title at any time after you create the blog by clicking the Cus-
tomize Theme button on the Dashboard Sidebar.
3. Enter the desired URL in the URL field.
If the URL you want is unavailable, a red bar will appear across the top of the page
when you click into another field with a message that another person has already
claimed that URL. Keep trying new URLs until you find one that is available.
4. To make your new linked blog private, check the Password Protect This Blog
check box and enter a password in the text field.
Otherwise, to keep this new blog public, leave the check box unchecked and the
Password field blank.
5. Click the Create Blog button to create your new linked account.
To exit from this page without creating a new linked account, click the Cancel but-
ton instead.
When you click the Create Blog button, the title of your new linked blog appears to the
left of the Add Blog (+) button on the Tumblr Dashboard.
Depending on the number of linked accounts you create and the number of characters
used in each account's title, the Add Blog icon may change to a My Blogs icon.
Clicking this new button lets you toggle between your Tumblr accounts as well as
add new secondary blogs to your account, as shown in Figure 4-3.
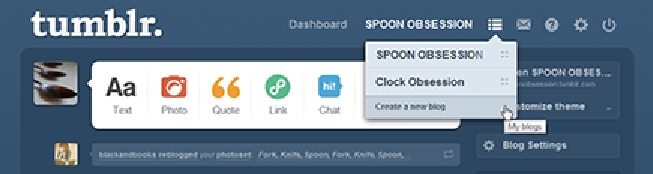
Figure 4-3:
The Add Blog icon changes into a My Blogs icon when you have more than one account or long
account titles.
If you want to tweak your new blog, click its title and then customize that new account: