Graphics Programs Reference
In-Depth Information
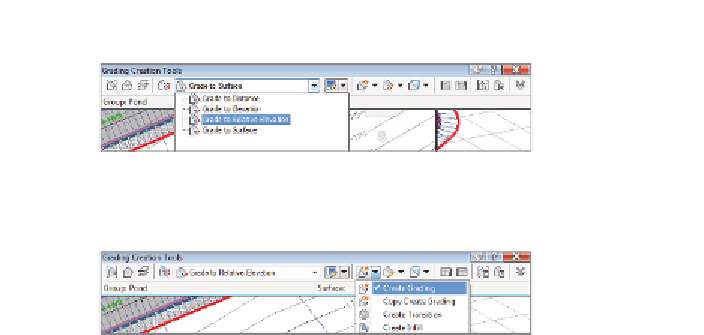
FiGuRE 17.11
Selecting grading criteria on the
Grading Creation Tools toolbar
FiGuRE 17.12
Selecting the Create Grading command
7.
When prompted to select a feature, click the green feature line.
When you're prompted to select the grading side, click a point inside
the feature line.
The infill created in
step 13 is a special
type of grading object
that simply fills a void
in a grading group. It
doesn't provide addi-
tional elevation points;
instead, it enables the
grading-group surface
to extend across an
open area. An infill can
be placed in any closed
area created by one or
more feature lines that
occupy the same site.
8.
Press Enter to apply the grading to the entire length.
9.
When prompted for the relative elevation value, type
-7
(
-2.13
), and
press Enter. When you're prompted for a format, press Enter to accept
the default of Slope.
10.
When you're prompted for a slope, type
3
and press Enter to apply a
slope of 3:1.
After a pause, a new grading object is created that represents the
inside slope of the pond. A surface is also created, and it's displayed
as red and blue contours in plan view.
11.
Expand the list of creation tools, and select Create Infill. Click a point
near the center of the pond.
The 3D view now shows that the pond has a bottom.
▶
12.
Select the Grade To Distance criteria.
13.
Expand the list of creation tools, and select Create Grading. When
you're prompted to select a feature, click the same green feature line
that you picked in step 9.
14.
When prompted for the grading side, pick a point outside the pond.
Press Enter to apply the grading to the entire length.
15.
Press Enter to accept the default distance of 10.000' (3.000m). When
you're prompted for a format, type
G
to invoke the Grade option, and
press Enter.
A new grading object is
created that represents
the berm of the pond.
▶
16.
Press Enter to accept the default grade of 2 percent.