Graphics Programs Reference
In-Depth Information
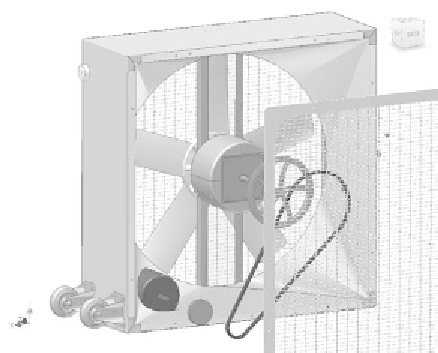
FIGURE 9.16
Change the screen view.
5.
Double-click Sequence1 in the Browser. Doing so launches the Edit
Task & Sequences dialog.
This dialog has a lot of hidden potential. In it, you can play the ani-
mation of each sequence. You can also insert information that can be
viewed by others. Earlier, you changed the Interval value and the speed
of the animation; here, you can set an Interval value for each sequence.
The Set Camera button attaches the present view to the sequence.
In combination with the
Hidden
folder, it makes it very easy to create
compelling animations.
6.
Click the Set Camera button, and click OK to close the dialog.
7.
In the Browser, use the Ctrl key to select Bolted Connection:2 and
Grill:2, and drag them to the
Hidden
folder under Sequence1.
8.
Change the view in the Design window to match Figure 9.17.
9.
Double click Sequence2 in the Browser to reopen the dialog.
10.
In the Text area under Sequence, add the words
Apply Belt Dressing
before installation
.
11.
Set the Interval to
8
.
12.
Click Set Camera, and then click the OK button.
13.
Drag Bolted Connection:2 and Grill:2 under the
Hidden
folder
beneath Sequence2.
14.
Set the view in the Design window to look like Figure 9.18.


Search WWH ::

Custom Search