Graphics Programs Reference
In-Depth Information
8.
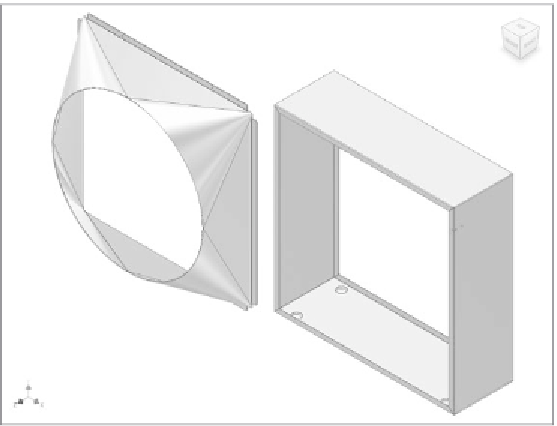
Pick and drag the duct away from the housing, as shown in Figure 3.26.
FIGURE 3.26
Moving a component into open space can make it easier to
apply assembly constraints.
9.
Save your assembly as
Fan.iam
in the
Assemblies
folder under
C:\Data
.
As you defi ne the part's position using assembly constraints, a component's
movement becomes limited. Before I get too far ahead of myself, let's discuss
some of the basic concepts for building an assembly.
Creating Assembly Constraints
Assembly constraints come in a variety of fl avors, but they're all based on the
same principle: removing degrees of freedom. The tools that Inventor uses to
create and manage assemblies are contained in the Assemble tab.
Theoretically, any part has six degrees of freedom (without that pesky grav-
ity). A part can rotate around three axes and translate (move) in three planes. It
can also move in any combination of these at the same time. However, as you
can imagine, it's diffi cult for a complex mechanism to work unless parts are
attached to one another, and those attachments limit each part's degrees of
freedom.


Search WWH ::

Custom Search