HTML and CSS Reference
In-Depth Information
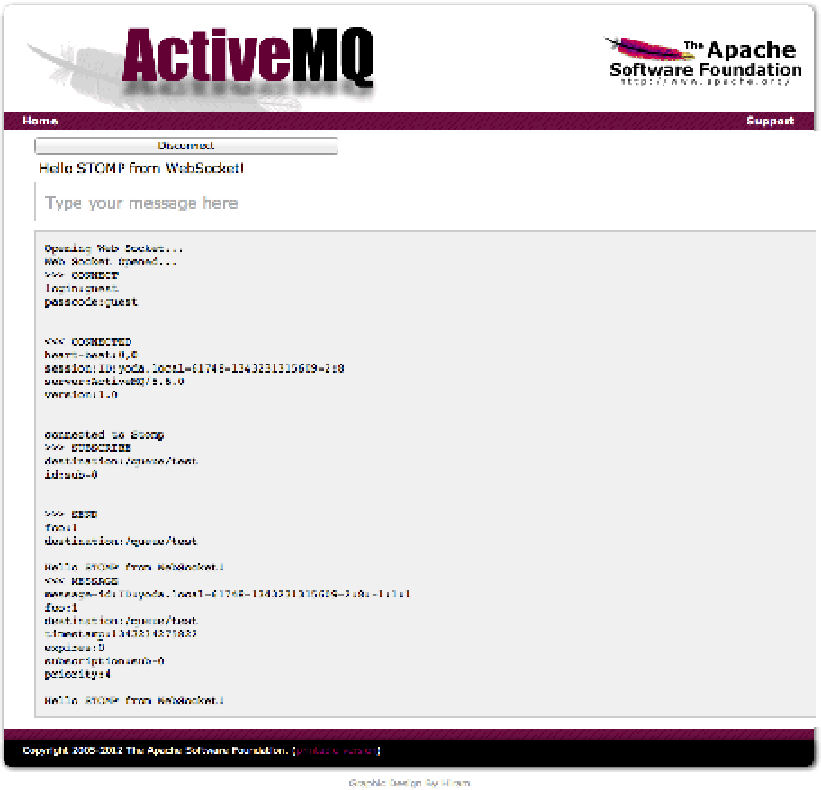
Figure 5-6.
Running the Apache ActiveMQ WebSocket Demo
In Figure
5-6
, notice that the STOMP messages are logged. Let's take a closer look at
these messages. First, the WebSocket connection is established, and a STOMP connection
is opened with the credentials provided:
guest/guest
. A heartbeat message is then sent.
After successfully creating the STOMP connection, the demo application subscribes to
the
stompDemo
queue.
Now, open a second browser window (you can open a new window of the same
browser or start a different browser) and provide the exact same connection data you
used above. At this point, you can start sending messages back and forth between the
browser windows.
Building a STOMP over WebSocket Application
Now that we've looked at a simple demo of a STOMP/WS application, let's try building
one. Here, we step through building an application that allows users to play the popular