Hardware Reference
In-Depth Information
Figure 8-11.
Place the hard drive inverted on a flat surface and use
four of the special drive-mounting screws to secure it to the drive
tray
Figure 8-12.
Label each of your SATA data cables with the drive/
port number you'll use them with
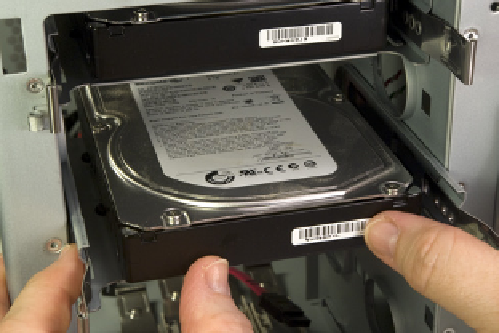
Feed the free end of the SATA data cable through the drive bay and into the
interior of the case. Align the drive tray with the chassis and slide the tray into
the chassis, as shown in Figure 8-14. Press the drive tray until the spring clips
snap into place, securing the hard drive. Repeat this procedure for each of the
remaining hard drives, if any. When you've finished, check all of the SATA data
cables to make sure they're still fully seated.
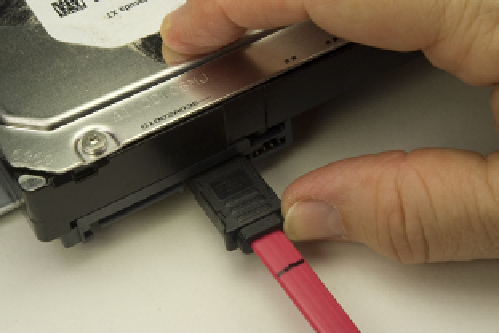
Figure 8-13.
Connect a SATA data cable to the hard drive
Figure 8-14.
Slide the drive tray back into the chassis and press
firmly until the spring clips snap into place
To reinstall the hard drive bay cover, align the pins on the left side of the drive
bay cover with the sockets on the chassis, and lower the drive bay cover back
into place, as shown in Figure 8-15. Swing the drive bay cover closed and tight-
en both thumbscrews to secure it, as shown in Figure 8-16.