Hardware Reference
In-Depth Information
We were able to power two hard drives in the top two bays and the optical
drive from one three-position SATA power cable, although it was a very tight
fit, as shown in Figure 5-57. If the hard drives had been mounted in a standard
bay rather than a Fleet-Swap bay, we'd have had to allocate a separate power
cable to the optical drive.
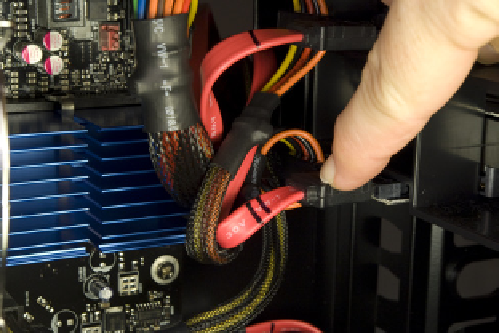
Continue routing SATA power cables and connecting them to drives until all
of your hard drives have power. Then locate the SATA data cables in the mess
of cables on the right side of the case, and feed them back through the ac-
cess holes near the drives. Connect each SATA data cable to the corresponding
hard drive, as shown in Figure 5-58.
Figure 5-55.
Slide the hard drive into the drive bay
Figure 5-56.
Close and latch the drive bay door
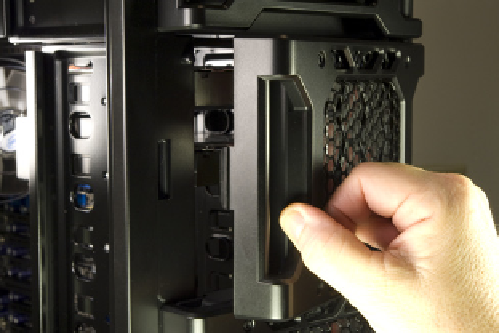
Figure 5-57.
Connect a SATA power cable to the power connector
on the Fleet-Swap bracket
Figure 5-58.
Connect the appropriate SATA data cable to each of
the hard drives