Hardware Reference
In-Depth Information
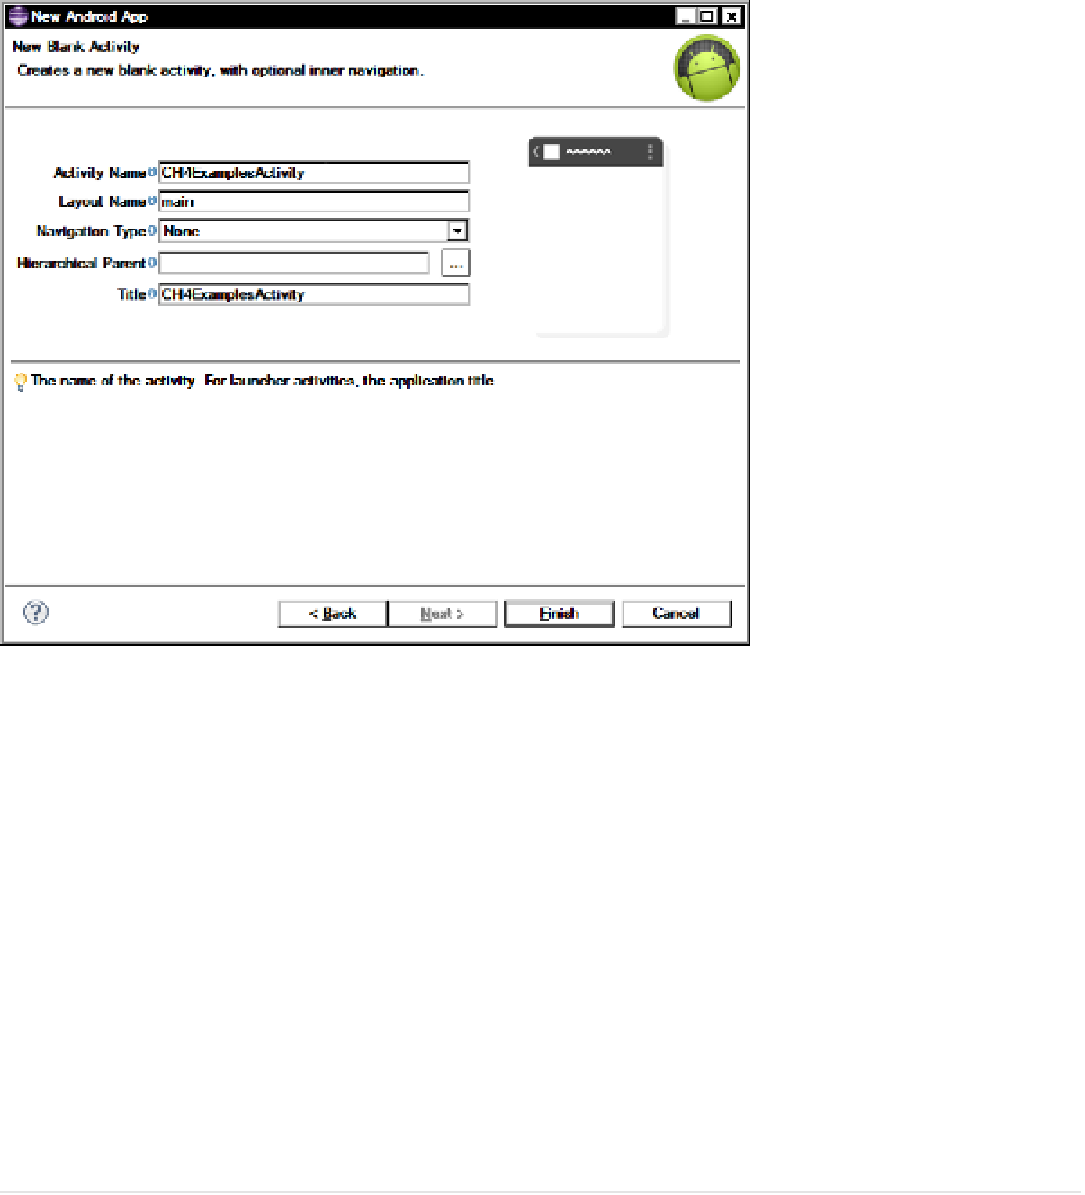
Figure 4-4.
Activity name and layout options
When you click Finish, the wizard creates an autogenerated Hello World project and a
*.apk
file; these form the
framework for the rest of the examples in this chapter. If this is the first time an Android application is being set up,
there may be a need for the wizard to automatically download some extra software components.
If the ADB is set up and the device is available, you can load the basic app and start it on an Android device by
clicking on the Play button on the toolbar, selecting Run from the Run menu, or pressing Ctrl+F11. When the project is
initiated for the first time, Eclipse will ask how to run the application. Make sure to select “Android application” from
the options. After you have selected the Run As options, you need to select the device to run; if the ADB is working
and the device is connected an option will be shown to choose a running Android device. You can create an Android
Virtual Device (AVD) to test running an application if a physical device is not plugged in or one is simply not available.
Note that the AVD is not capable of testing ADK functionality, because of a USB host conflict.
The next section focuses on the Arduino and preparing to communicate with the ADK before building the actual
Android app.
Not
■
if you're not running the adB, you can copy the
.apk
file to an android device from the workspace
project
name
/bin
folder and install it by running
.apk
from the android device.
The Arduino Sketch
Working with the ADK with the Arduino is similar to working with software serial, in that a header needs to be included,
an object declared, and that object started. The library that was added to the Arduino's IDE provides a clean method
of declaring and initializing the host connection when compared to other libraries that are available, and is based