Graphics Reference
In-Depth Information
still used in the final output. This is helpful when your project becomes
unwieldy, with too many layers to scroll through.
Important Hint:
Keep track of using the 'Shy' button; if you have a number of layers
hidden and you continue to add more layers, observe the layer's
Number
.
Sometimes a layer can interfere with a hidden layer (or vice versa) without you
knowing it until you render the project.
The second to last column is
Mode
. Mode provides
two tasks: 'Mix Mode' and 'Track Matte'. Mix Mode
is the method where a layer's images are applied to
layers beneath (additive, subtractive, lighten,
darken, saturation,
color, etc.). We'll discuss
this concept in detail
later.
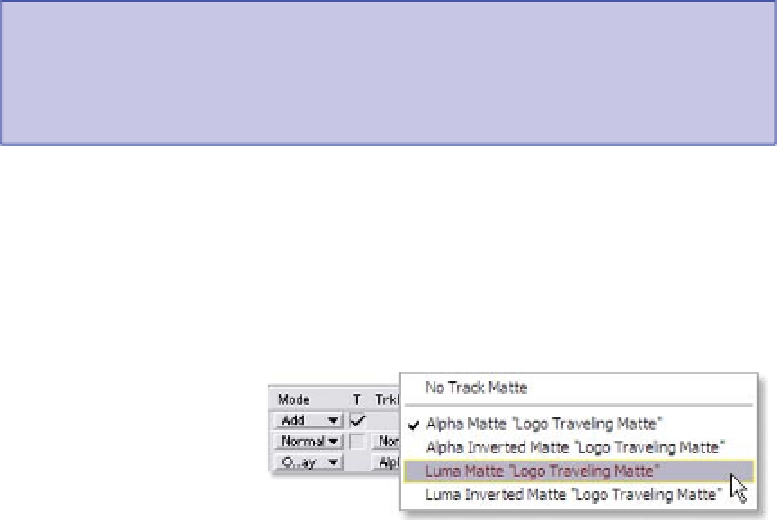
Track Matte activates a
layer's traveling matte, or video mask, that is captured from the layer above.
When you have a separate matte/Mask/Alpha clip or image, Track Matte is the
quickest way to apply it to your fill layer. Again, this will be clarified later.
The large right area is the actual
Timeline
, where your various clips,
images, and compositions are
assembled. These layers are given a
range of time where they affect the
composition as a whole. These
segments look like a thick line with a
ramp at the start and end. The ramp is a handle where you can edit a
segment's
In
and
Out Points
. The actual clip's In/Out Point is where the ramps
touch the color
Timeline Bar
. Each layer can have only one Timeline Bar
applied.
At the top of the actual
Timeline above the
frame/timecode