Graphics Reference
In-Depth Information
By right-clicking the mouse cursor on the column headers, a list of
Column
Options
will appear.
This list offers users many options to customize their Timeline Window. Editors
might like to have the In, Out, and Duration columns showing, while someone
reviewing another designer's project might
use the Comments column.
You can also rearrange the order of
columns by clicking on a column's header,
then dragging the header to a new
position in the Timeline Window. I like to
move the
A/V Features
column after the
Source Name
column; to me it makes
sense to have the layer numbers leading
the rows. I also add both the
Modes
and
Parent
columns because they are both
accessed often.
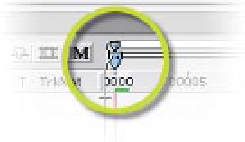
Timeline Window Tour
At the top left corner of the Timeline Window (seen below), move the mouse over
the underlined blue
Current Time
numbers. Hold down the Control (Ctrl) key and
click on the numbers to change
Time Display
modes. It cycles from 'Frames' to
'Feet
Frames' (for you cinema people) to 'SMPTE
Timecode'. Also, scrubbing the mouse cursor over
the numbers causes the Timeline's
Current Time
Indicator
(
CTI
, seen right) to scan across the Timeline
Window.
The far left
Arrow
(bottom right
highlight) functions the same as
the Project Window's
Expand
Folder
arrow: it opens the
various adjustable properties
available to that layer.
The square
Label
box, next,
allows you to highlight each