Graphics Programs Reference
In-Depth Information
trimming Lines
The final step is to trim away the horizontal lines to complete the opening and the
unneeded portions of the two most recent vertical lines that you offset. To do this,
you use the
TRIM
command. Like the
EXTEND
command,
TRIM
has two steps. The
first is to select reference lines. In this case, they're called
cutting edges
because
they determine the edge or edges to which a line is trimmed. The second step is
to pick the lines that are to be trimmed. Also like the
EXTEND
command,
TRIM
lets
you select the objects individually, or using one of the many other object selection
methods found inside AutoCAD. In this lesson you'll have a chance to try out one
of these methods, known as the Fence method.
1.
Choose the Home tab
➢
Modify panel, click the down arrow next to
the Extend button, and then choose Trim from the fly-out menu. This
will launch the
TRIM
command. Notice the command window. Similar
to the
EXTEND
command, the bottom line prompts you to select objects
or select everything in the drawing, but the second line up tells you to
select cutting edges.
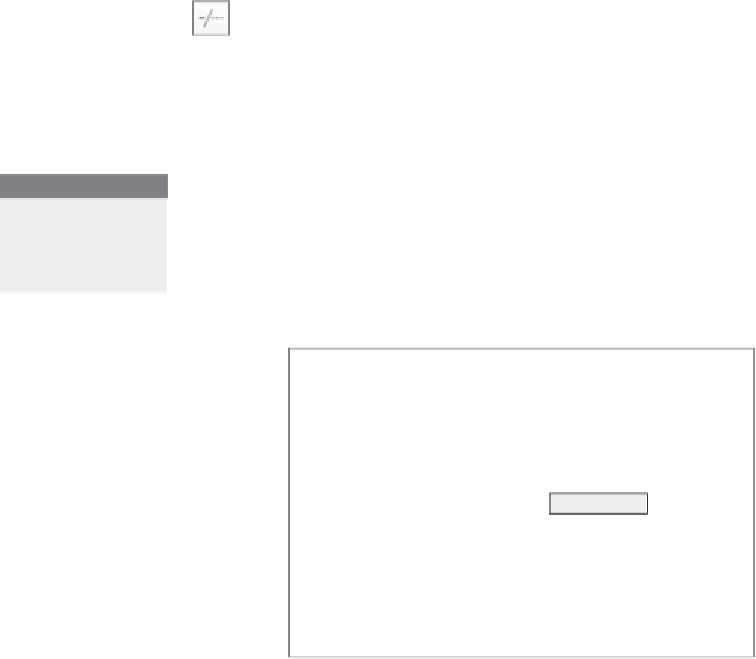
2.
Pick the two vertical offset lines that were just extended as your cut-
ting edges, and then press
↵
(see Figure 2.33).
You can also start
the trim command
by entering
TR
↵
.
3.
Notice that the command line reads
Select object to trim or
shift-select to extend or [Fence/Crossing/Project/Edge/
eRase/Undo]:.
Enter
F
to start the Fence mode.
Select objects:
Y
X
FiGuRE 2.33
Lines selected to be cutting edges


Search WWH ::

Custom Search