Graphics Programs Reference
In-Depth Information
5.
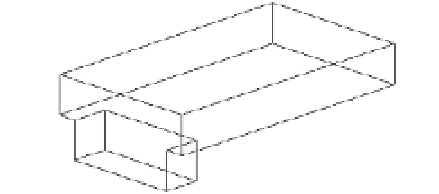
Click both boxes and press ↵. Your drawing now looks like Figure 22.5.
FIGURE 22.5
The two boxes
joined
As you can see in Figure 22.5, the form has joined to appear as one object. It also acts like
one object when you select it. You now have a composite solid made up of two box primitives.
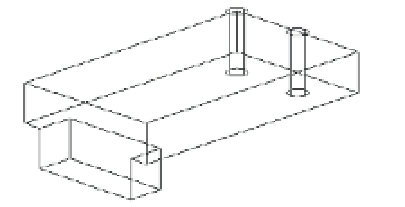
Now let's place some holes in the bracket. In this next exercise, you'll discover how to create
negative forms to cut portions out of a solid:
1.
Turn on the layer called Cylinder. Two cylinder solids appear in the model, as shown in
Figure 22.6. These cylinders are 1.5 units tall.
FIGURE 22.6
The cylinders
appear when the
Cylinder layer is
turned on.
2.
Click and hold the Union tool in the Tool Sets palette and click the Subtract tool from the
fl yout (Figure 22.7), or type
SU
↵.
FIGURE 22.7
The Subtract tool
on the Union fl yout
3.
At the Select solids, surfaces, and regions to subtract from… Select
objects: prompt, pick the composite solid of the two boxes and press ↵.
4.
At the Select solids, surfaces, and regions to subtract… Select objects:
prompt, click the two cylinders and press ↵. The cylinders are subtracted from the bracket.
5.
To temporarily view the solid with hidden lines removed, choose View
Hide. You see a
hidden-line view of the solid, similar to the one shown in Figure 22.8.