Graphics Programs Reference
In-Depth Information
The tangent constraints that you see at the ends of the lines keep the arcs and the lines tan-
gent to each other whenever the arcs are edited.
The parallel constraint (left) keeps the two lines parallel, and the horizontal constraint (right)
keeps the lines horizontal.
There is one constraint that doesn't show an icon, but you see a clue to its existence by the
small blue squares where the arcs join the lines:
1.
Place your cursor on one of the blue squares.
2.
A new icon appears below the tangent icon. This is the Coincident icon.
The coincident constraint makes sure that the endpoints of the lines and arcs stay connected,
as you'll see in the next few exercises.
Editing a Drawing Containing Constraints
Now try editing the drawing to see firsthand how these constraints work:
1.
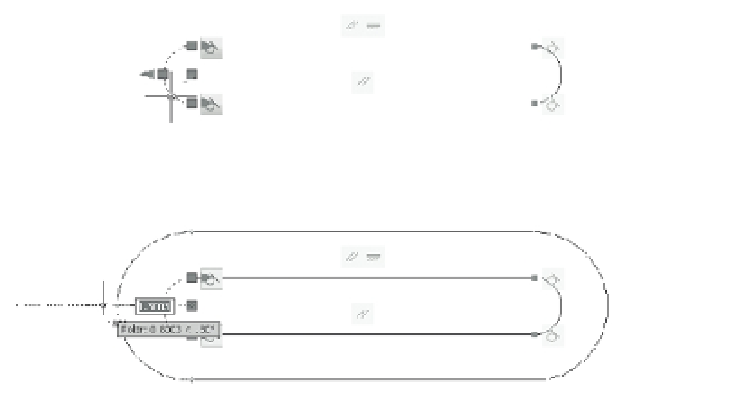
Click the arc on the left side of the drawing (top of Figure 16.5).
2.
Click the arrowhead grip to the left of the arc and move it to the left to increase the radius
of the arc. The objects move in unison to maintain their geometric constraints (bottom of
Figure 16.5).
3.
Click again to accept the change in the arc radius.
4.
Press Esc to clear the current object selection. Right-click and select Undo Grip Edit or
press F-Z to undo your change.
In this exercise, you saw how the tangent, parallel, horizontal, and coincident constraints
worked to keep the objects together while you changed the size of one object.
FIGURE 16.5
Changing the
radius of one arc
causes the other
parts of the
drawing to fol-
low because of
their geometric
constraints.
Click this arc.
Drag horizontally.