Graphics Programs Reference
In-Depth Information
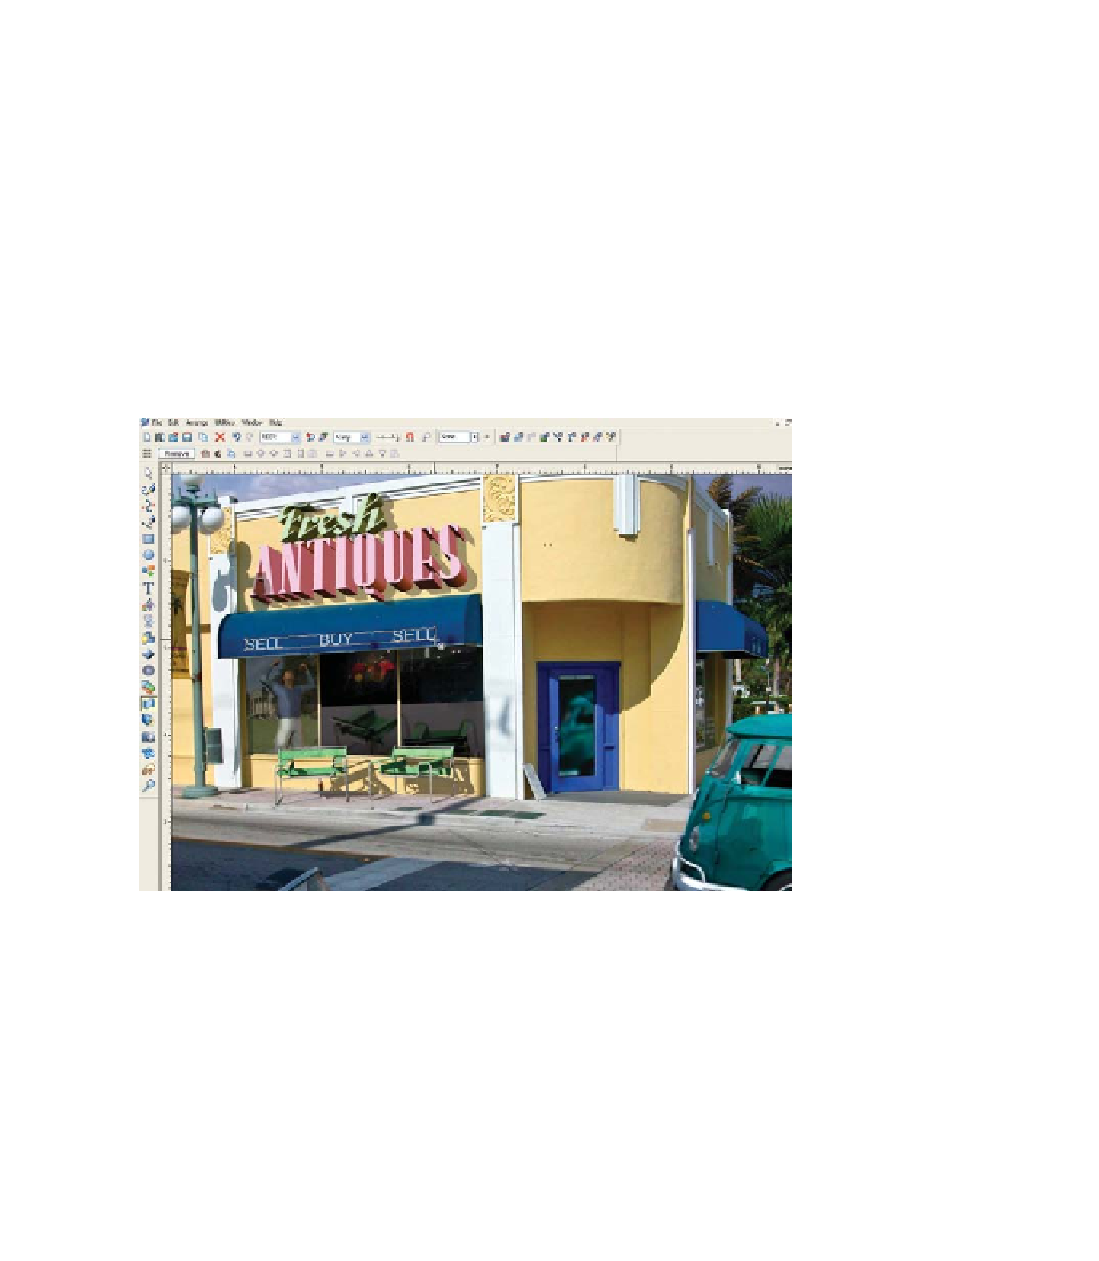
3.
Position the text so it sits roughly over the bottom part
of the awning, where the viewer expects vinyl lettering
to be affixed to a commercial awning.
Choose the Mould Tool, and then click the Default
4.
Perspective button on the Infobar.
5.
-click to select two control points at a time (first
the left side and then the right side), and move the
points by using either the Mould Tool or the Shape
Editor Tool until the lettering appears to be slanting
down toward the left of the composition. Select the top
two points, hold
CTRL
, and drag to the right for a slight
italicized effect (for better matching of the three-quarter
view perspective in the scene). Finally, add a 37%
Transparency to
allow the color of
the awning to mix
slightly with the
lettering. You're
done; save the
file and consider
exporting the
composition by
pressing
CTRL
-
A
to select all and
then pressing
CTRL
-
SHIFT
-
E
to
export to a bitmap
file format such
as JPEG or PNG
so your client
can see the piece
as an e-mail
attachment.
SHIFT
When you use your eyes to scope out a photo for details you need to match in Xara with
signage or other editing, don't mentally jump to conclusions. Art is not the same discipline
as photography, and photographs are both more complex and less detailed than illustrations.
Don't add too much detail or your photo-editing will look fake. Use the Color Picker (Eyedropper) to
sample colors in the photo for the shapes you add. A “boring,” under-detailed Xara drawing often
fits into a photographic composition better than an exciting, over-illustrated piece of work. Let your
illustrations be illustrations; photographs deserve a treatment that is photographic.